1. Introduction
The activity section can be used in a range of different ways and has many configurable settings. For example, this section can act as an activity management tool, to manage approvals or to track activity-related spending. In the activity section, a user can build an activity plan like so.
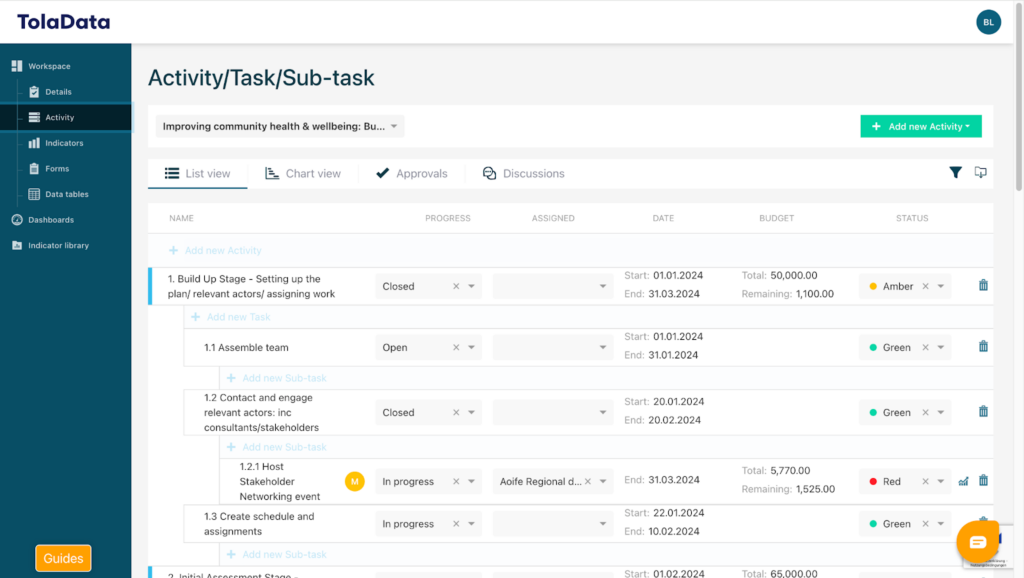
A user can assign tasks and approvals. The user can add budget items the user can add documents. The user can also connect the activity to an indicator as well as adding sites and stakeholders.
2. Creating an Activity
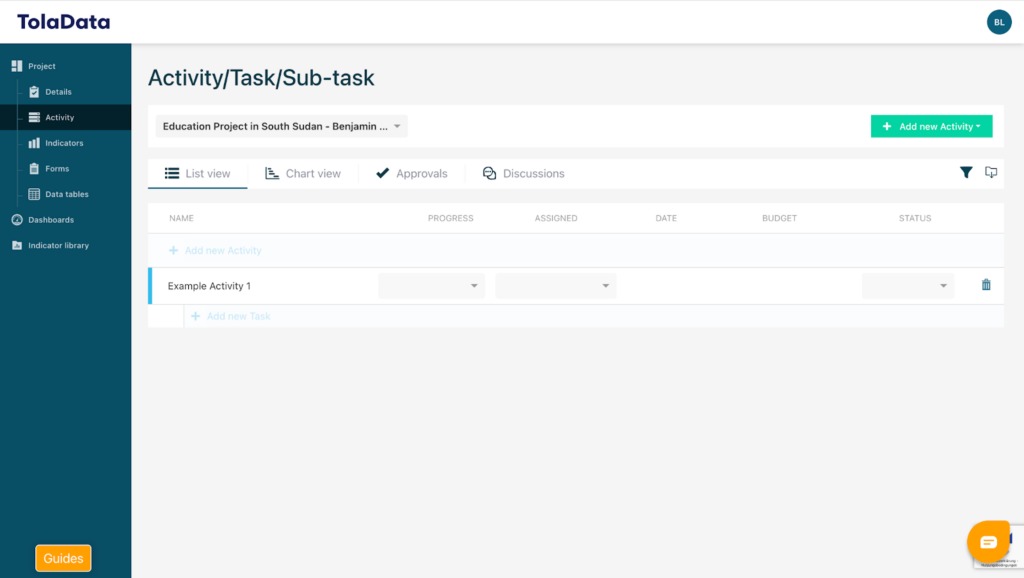
To create a new activity, click on “Add New Activity” and decide whether you would like to manually create an activity or to import it from an Excel template. After that enter a name for your activity. Once saved, your new Activity will be created and ready for use.
3. Overview over your activity plan
After adding activities you can visualise your activity plan via the “Chart list” feature. Here you can access all your added activities and it’s a visually better way to check if everything is assigned correctly.
Also included in the chart list there is a timeline which aligns with your time settings in your activities.
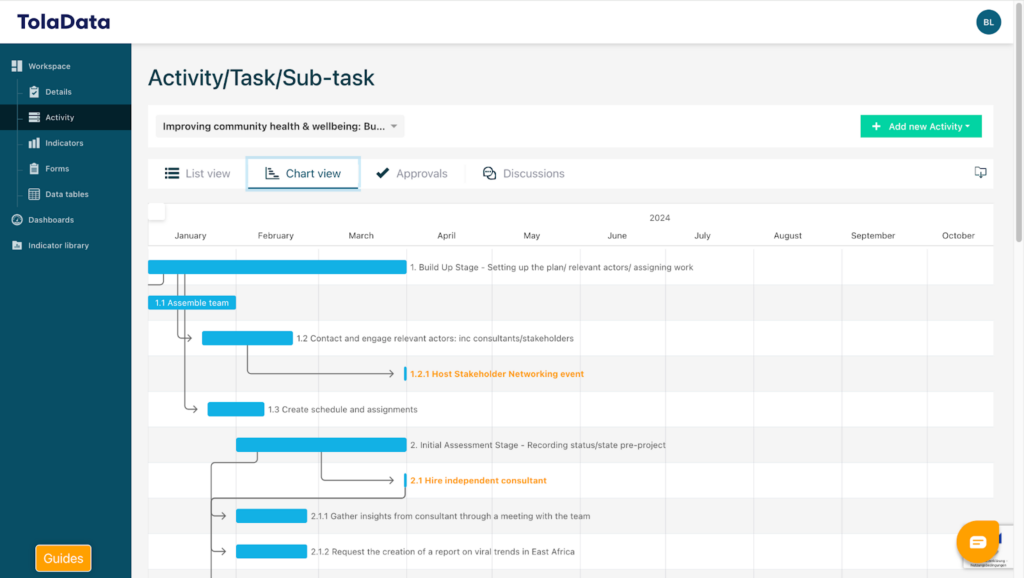
This timeline can be changed to your needs at the bottom of the site in the standard time disaggregations on a daily, weekly, monthly or yearly basis.
You can also change the duration of each activity by dragging the corresponding chart to the duration you want.

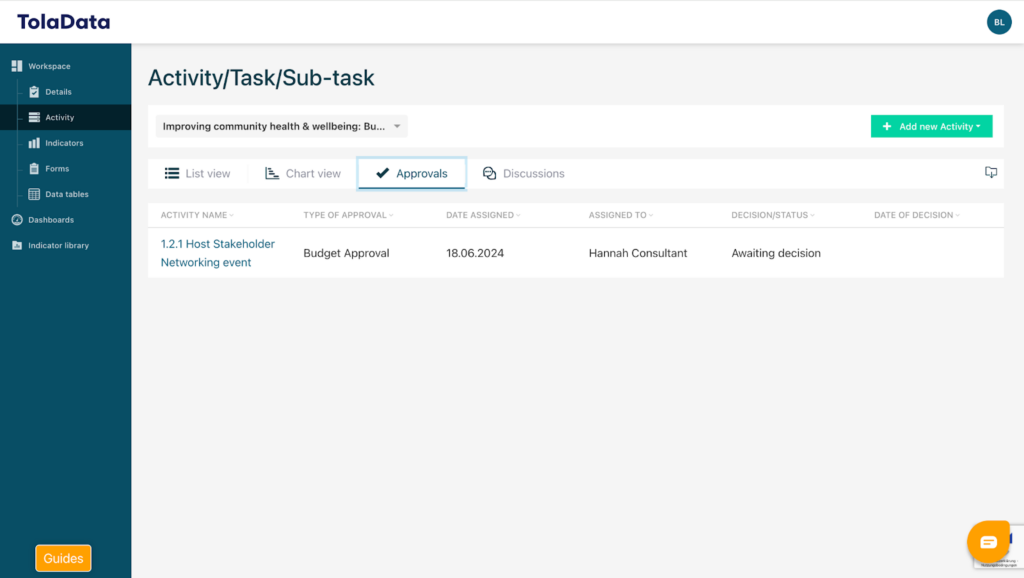
4. Approvals rights for the activity plan
Under the “Approvals” tab you have an overview over every approval you have added to your activity plan. You can manage the approval rights by simply clicking on them and directly get directed to the specific part in your activity plan.
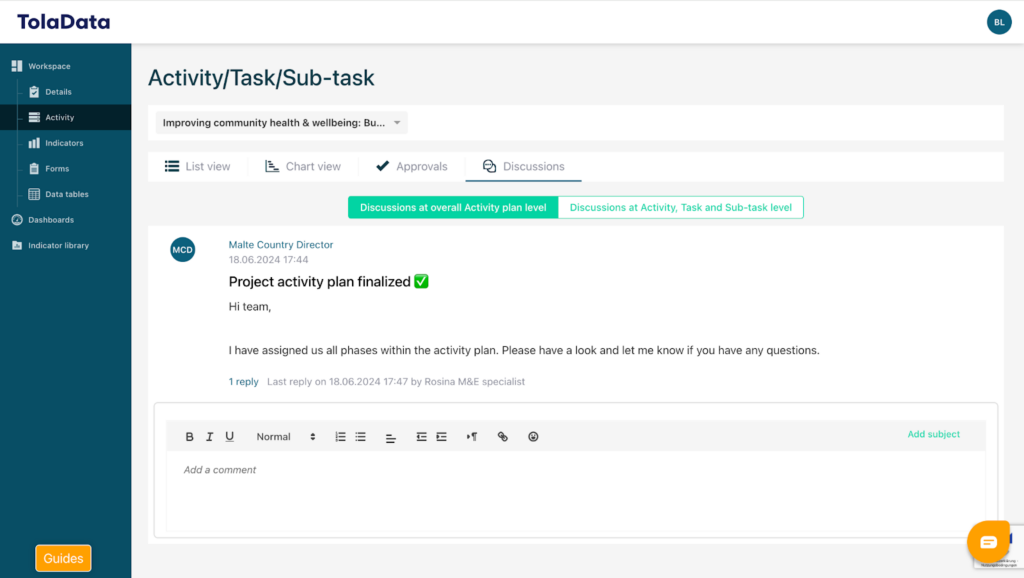
5. Discussion feature to coordinate with your team members
Under the “Discussions” tab you can discuss your activity plan within your team. This feature is segregated into two tabs (Discussions at overall Activity plan level and Discussions at Activity, Task and Sub-task level). This creates a personalised possibility to discuss the whole plan as it is or to discuss each aspect/under activity of the activity plan in detail.
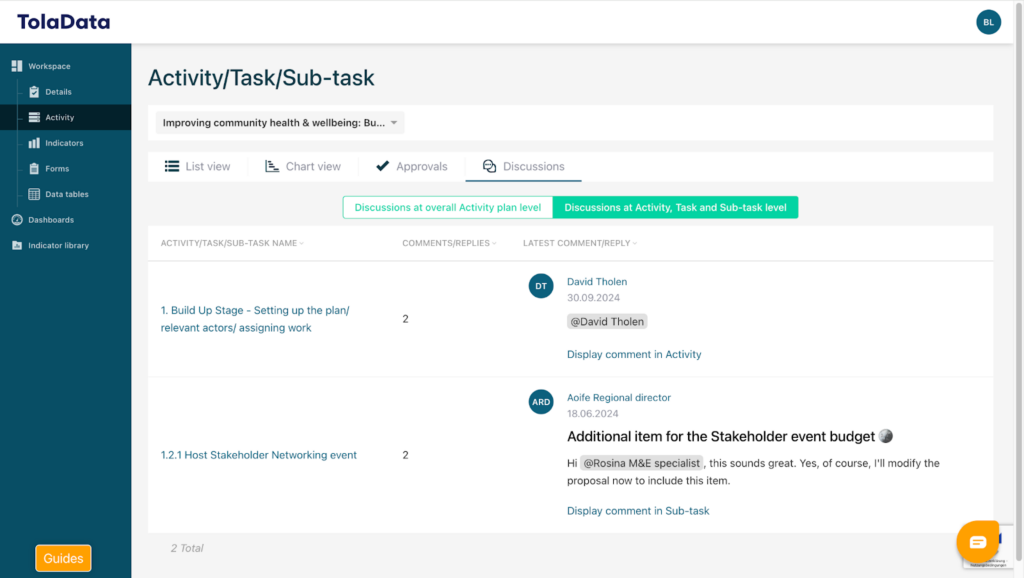
Under Discussions at Activity, Task and Sub-task level the discussions are also linked to each part of the activity plan and you can access them by clicking on them and get directed to the specific part of the activity plan into the activity section of the specific part where you can directly respond within the specific part.
6. Add a new tab
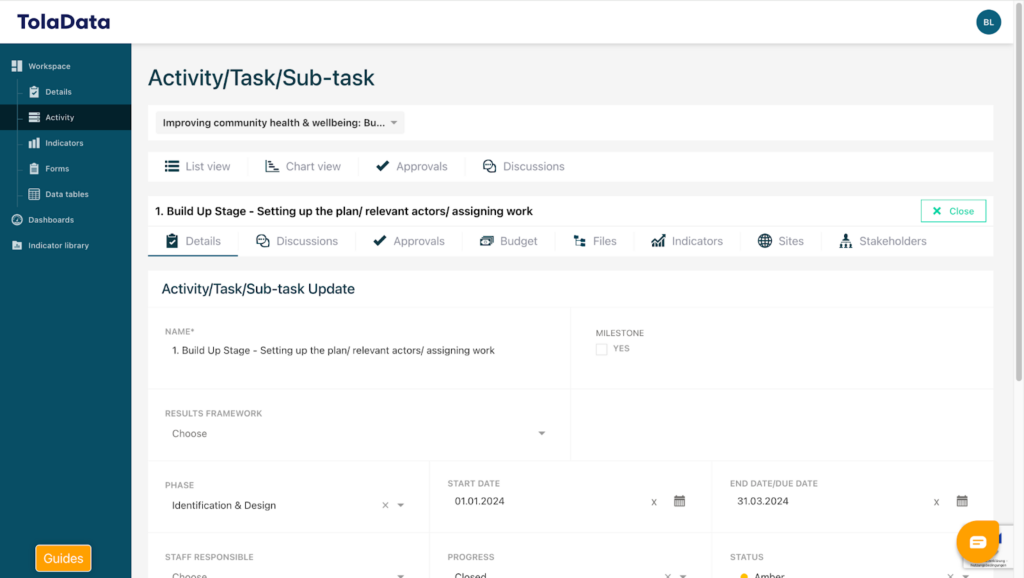
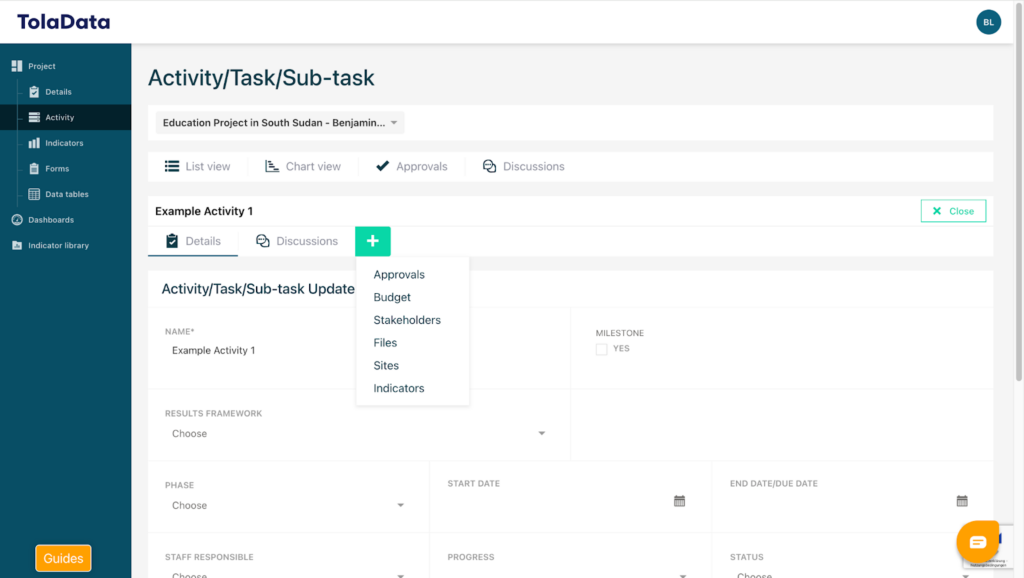
Your newly created activity will initially be completely blank, giving you full flexibility to design according to your specific needs and preferences. To add a new tab, click on the green “+” button.

Now a little menu will appear where you can decide what features of the available (Approvals, Budget, Stakeholders, Files, Sites and Indicators) you would like to add and do so by simply clicking on them. You can also add more than one feature by repeating the process.
To get a deeper understanding of how each of the previous mentioned features function please watch the videos in the playlist following this introduction video. They are also linked in the description of this video for you to access them as easily as possible.
7. Add a discussion – “Discussions”-feature
To add a discussion on either your whole Activity plan or a specific section of your activity plan head over to the “Discussions” tab. Here you firstly have a completely empty space or in case someone else added something there might be some notes in this section.
To add a discussion click the “add subject” button to give your particular topic a personalized heading.
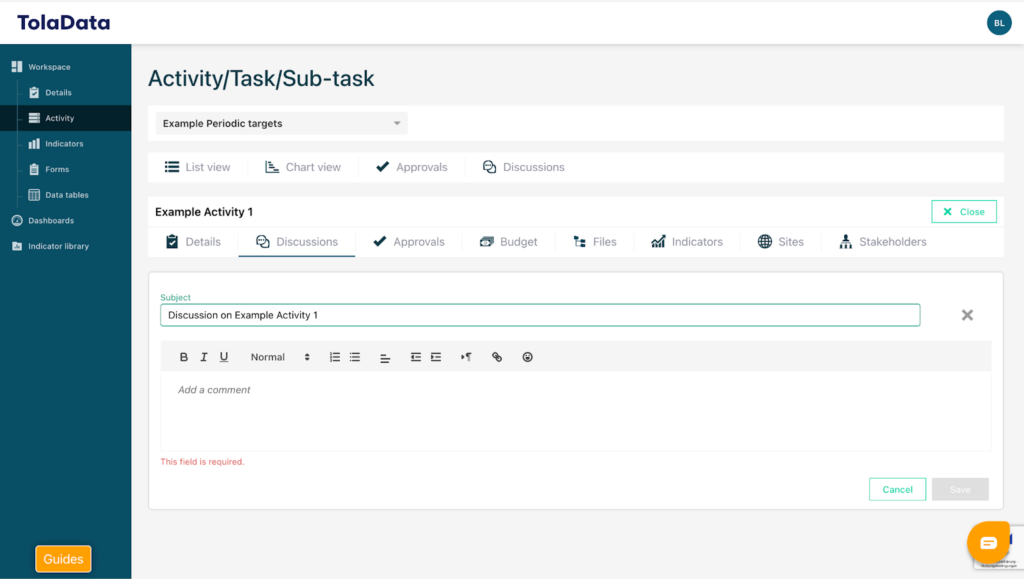
To add the context of your concrete discussion click into the “Add a comment” section and simply type what you wanted to mark out or discuss with your team members on this explicit part of your activity plan. You can also use the feature to structure your working plan in order to adjust your workload by saying which member of your team is responsible for each part of the activity plan.
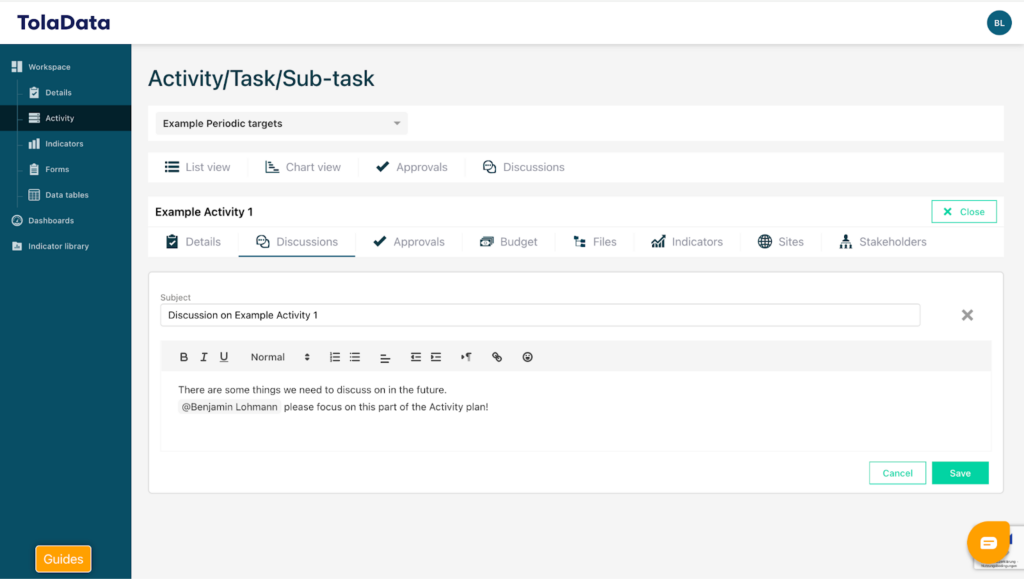
When you’re finished with everything you wanted to discuss or assign to the particular part of the Activity plan simply click the green “Save” button and the discussion should be added looking something like this.
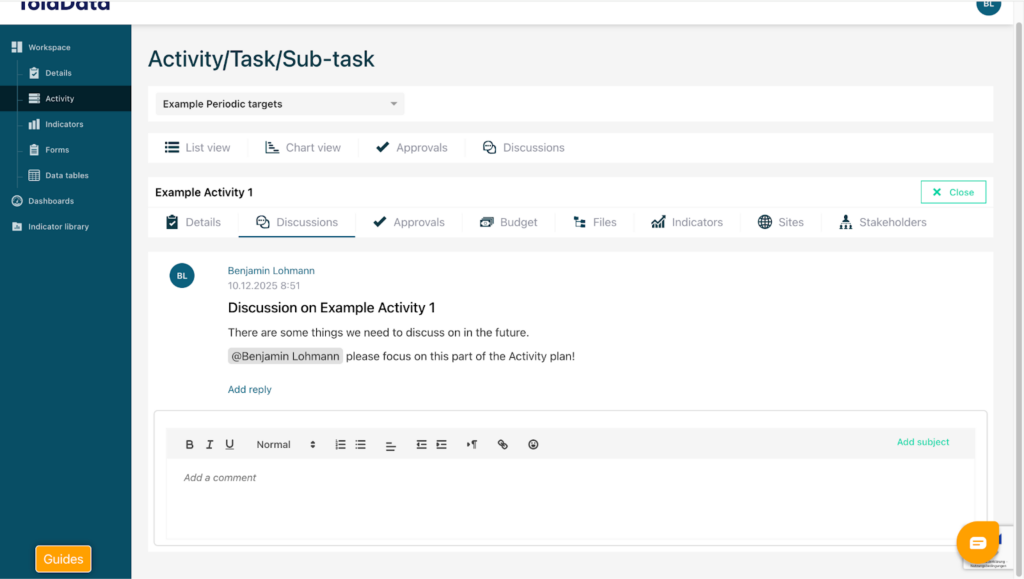
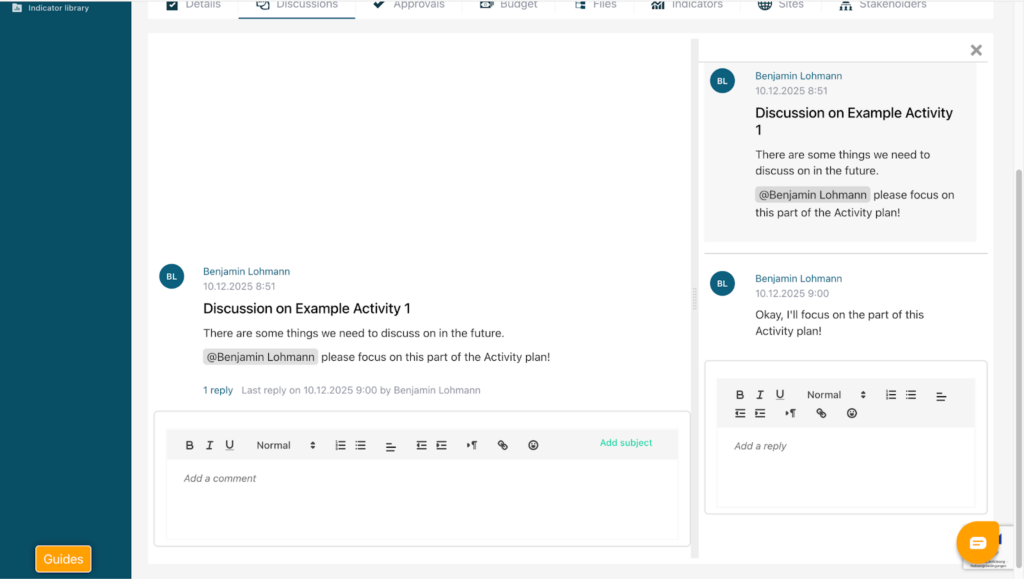
Now you can either add a new discussion by repeating the steps we just went through or you or your team members are able to reply to the discussion you added by clicking the little blue “Add reply” button.
After clicking the button this picture appears where an overview of the discussion is provided and you could add something to the discussion in the text field on the right hand side of your screen. Simply click into the “Add a reply” section and type in your reply. To save your reply click the green “Save” button.
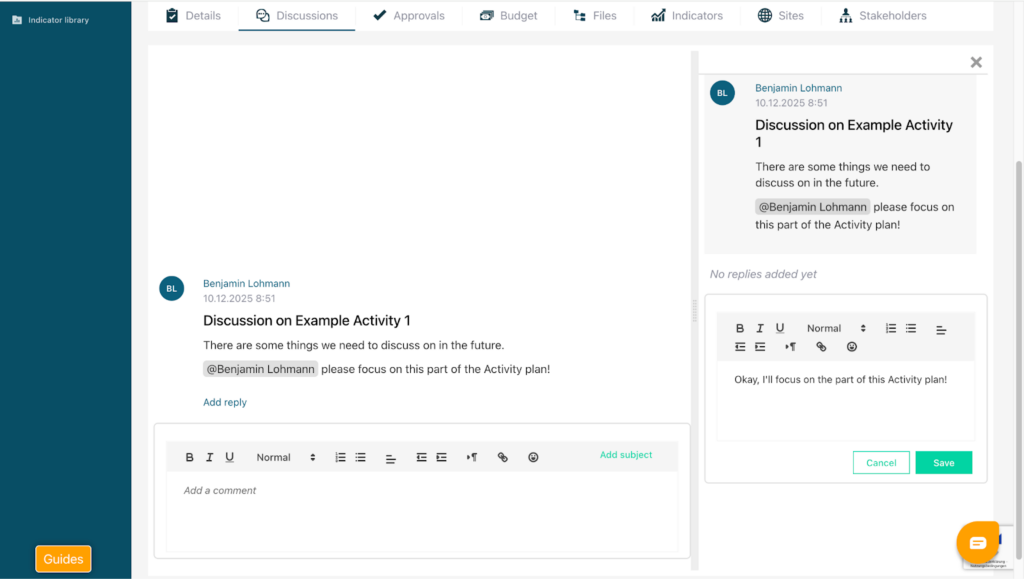
After doing so your reply is being added and it is showing in the overview.
8. Add an approval – “Approvals”-feature
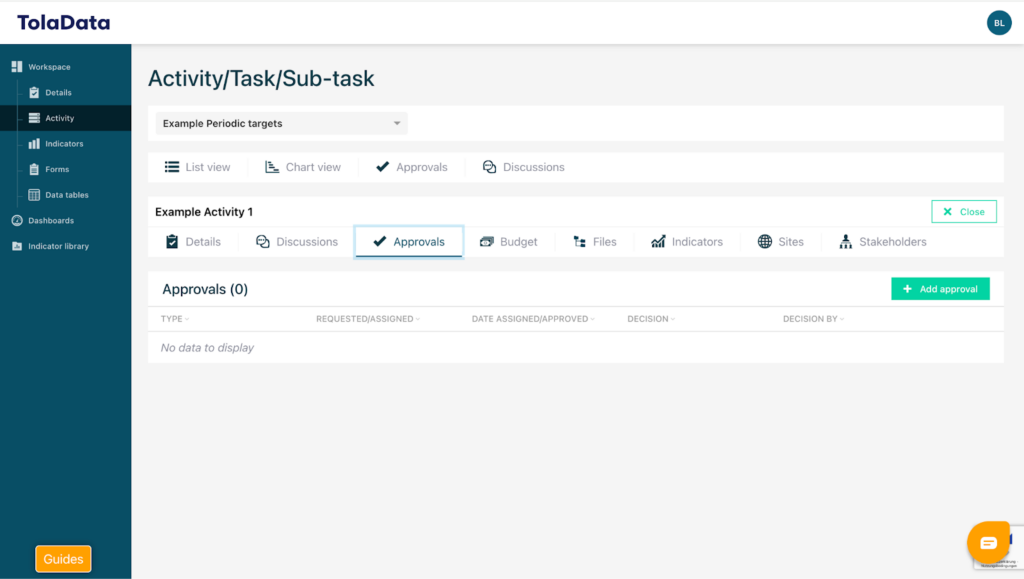
To add an approval on either your whole Activity plan or a specific section of your activity plan head over to the “Approvals” tab. Here you firstly have a completely empty space or in case someone else added something there might be some notes in this section.
To add an approval click the “Add approval” button.
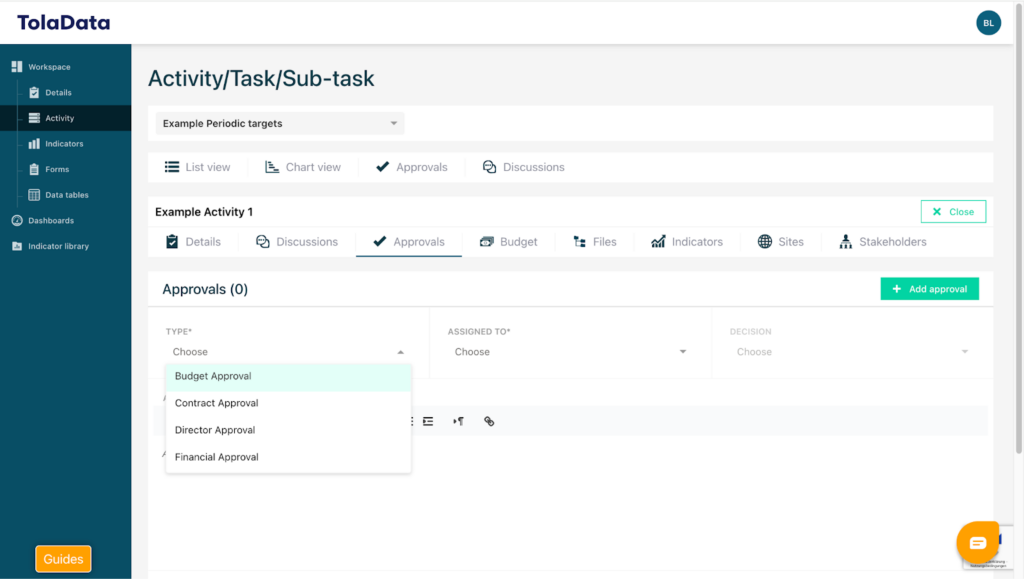
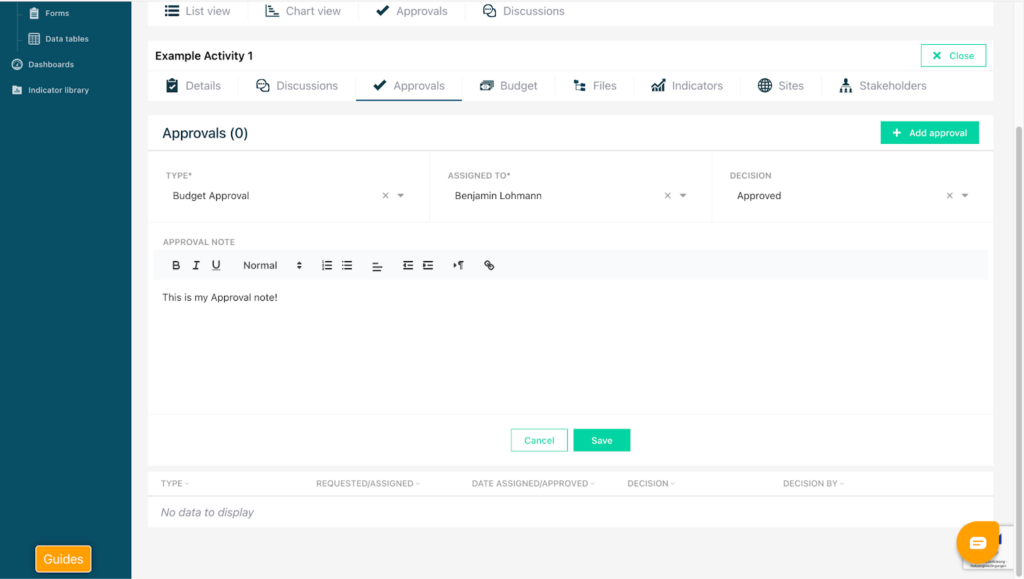
After that a menu appears where you have to select various different settings personalized for your needs.
Under the “Types” section a menu appears where you can decide on which type of approval you want to add. The approval types can be set by OrgAdmins in the Admin console.
Under the “Assigned to” section a menu appears where you can decide on who you want to assign. Select the members of your team and add them to the approval.
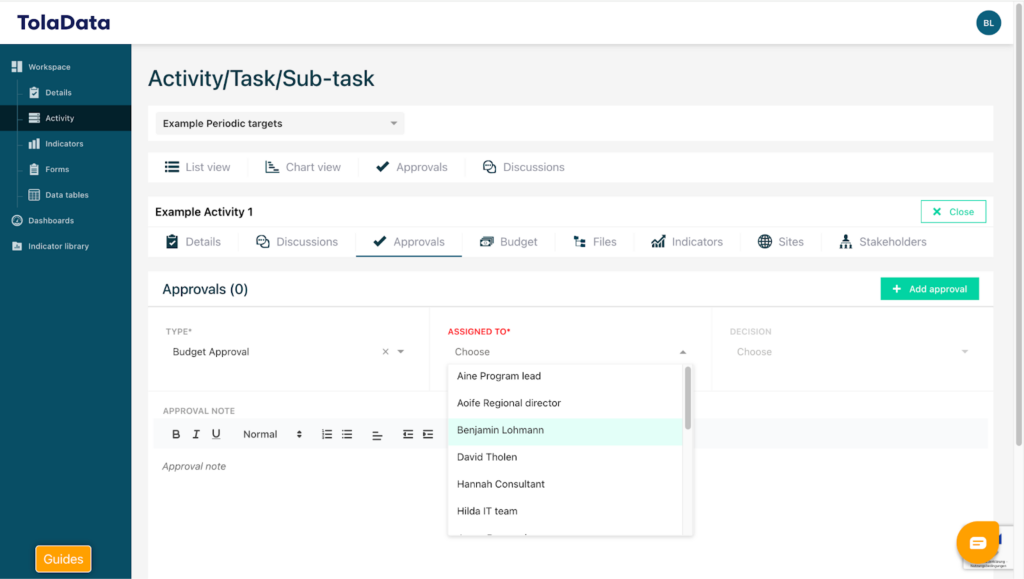
Under the “Decision” section a menu appears where you can decide whether your decision is approved or not approved . Select the right one and you’re good to go.
You can also add notes to your approval by clicking into the “Approval note” section and simply type in what you want to note down to our specific approval.
To save your settings for your specific Approval click the green “Save” button.
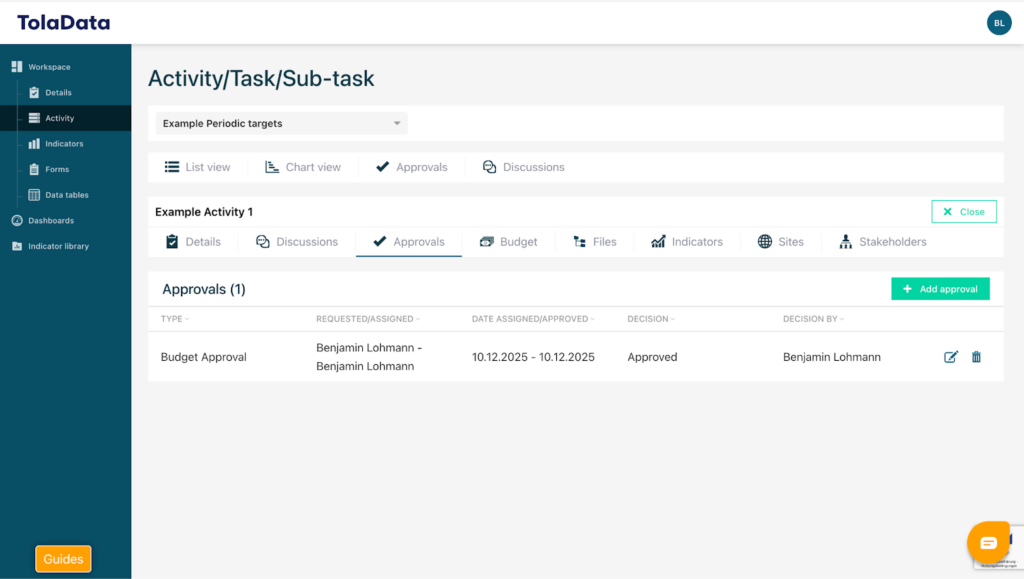
Now your Approval has been added to the particular part of your Activity plan.
9. Add a budget – “Budget”-feature
To add a budget to a specific section of your activity plan head over to the “Budget” tab. Here you firstly have a completely empty space or in case someone else added something there might be some notes in this section.
To add a file click the “Add Budget” button.
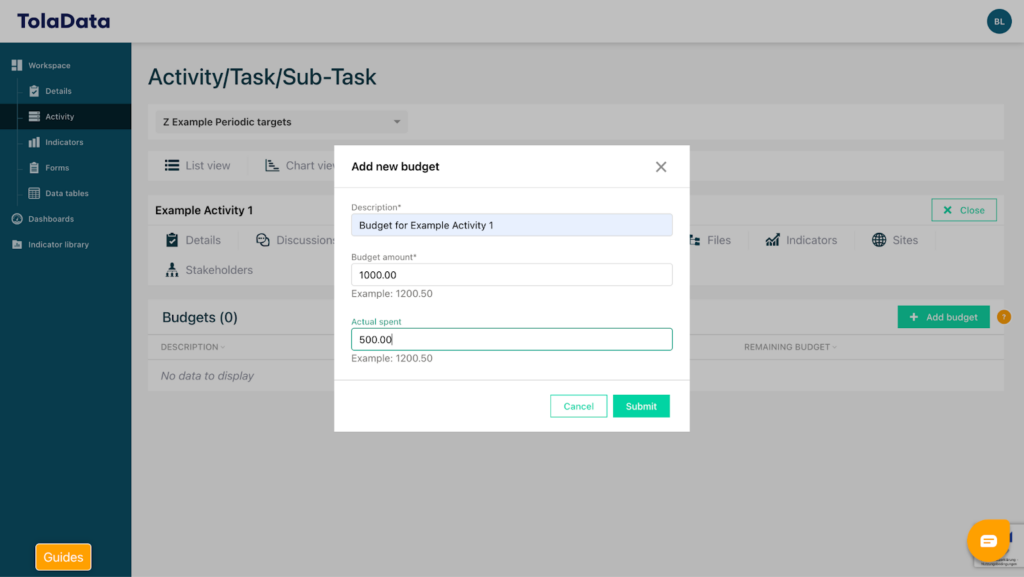
Now a menu appears where you can give a description of the budget. You can enter an amount under “Budget amount” and also can add your actual spendings under “Actual spend”.
To save your entered budget data click the green “Submit” button.
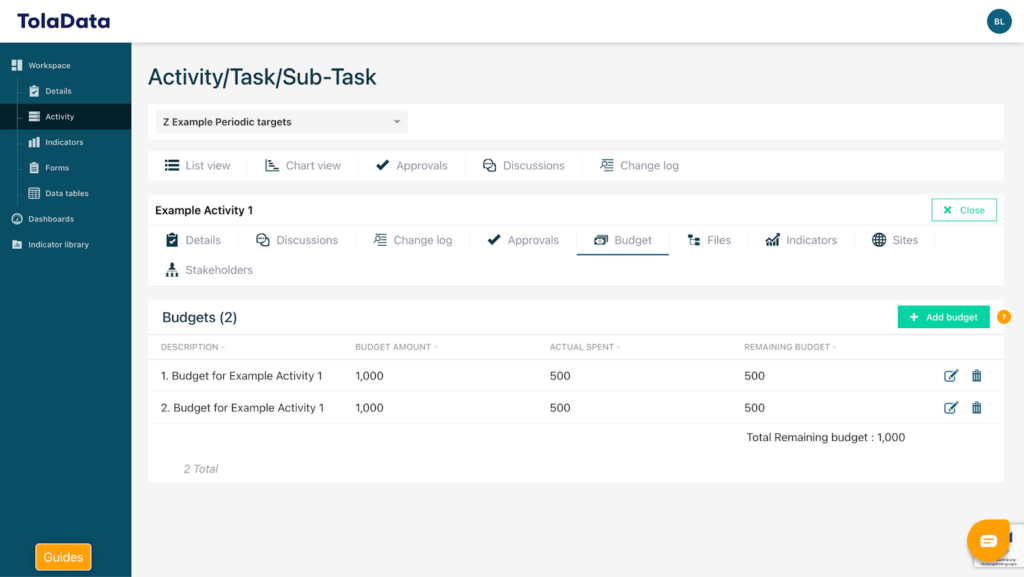
After submitting your settings the inserted budget will be saved and added to the overview. Here you can see the total amount you’ve added, the actual spendings and the remaining amount.
Additionally you are able to see the remaining budget of all budgets added to the particular part of the activity plan if there are more than one budgets added in an aggregated format.
10. Add a file – “Files”-feature
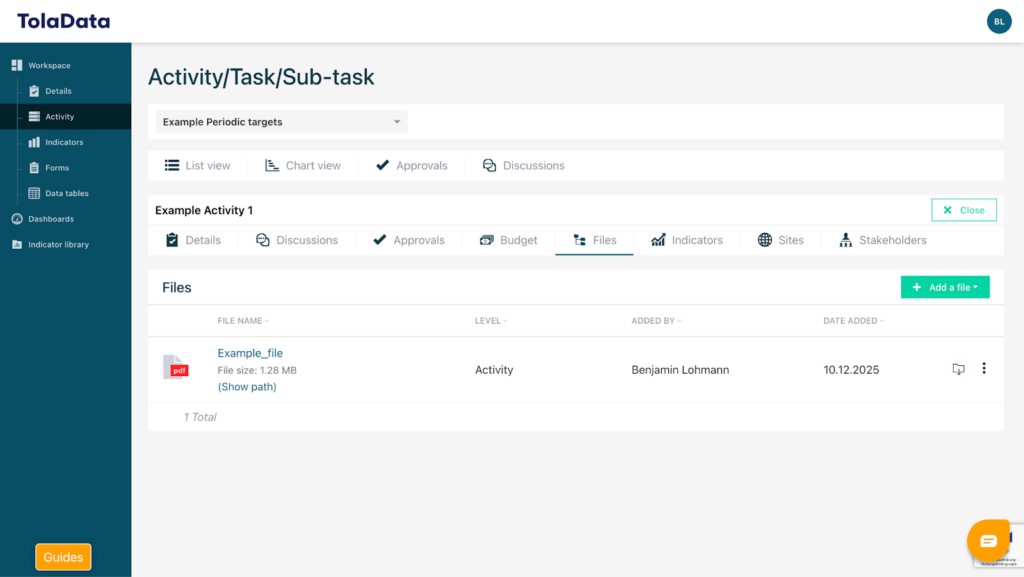
To add a file to a specific section of your activity plan head over to the “Files” tab. Here you firstly have a completely empty space or in case someone else added something there might be some notes in this section.
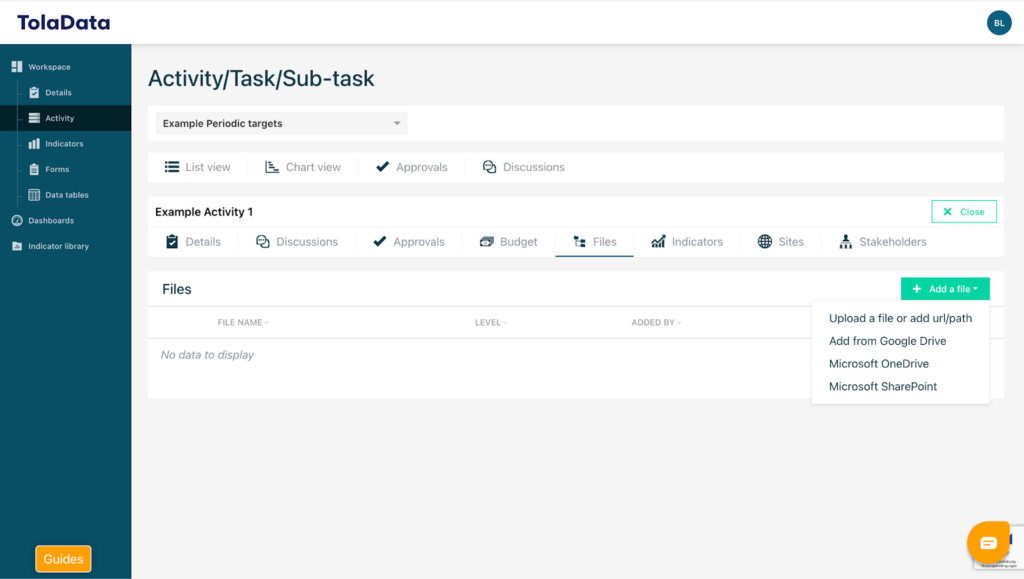
To add a file click the “Add a file” button.
Now a menu appears where you can choose from which source you want to add your file (Upload a file or add url/path, Add from Google Drive, Microsoft OneDrive or Microsoft SharePoint).
Depending on the format of the file you want to add you either get directed to your particular account of the possible sources you are able to add from.
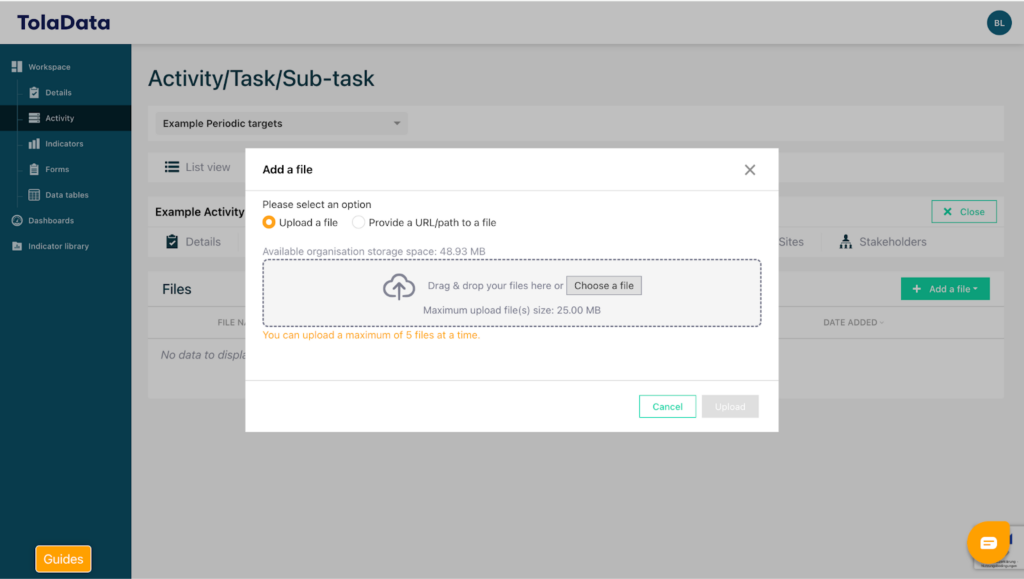
If you choose “Upload a file or add url/path” a menu appears where you can “upload a file” from your personal device or via drag&drop directly inside the TolaData software.
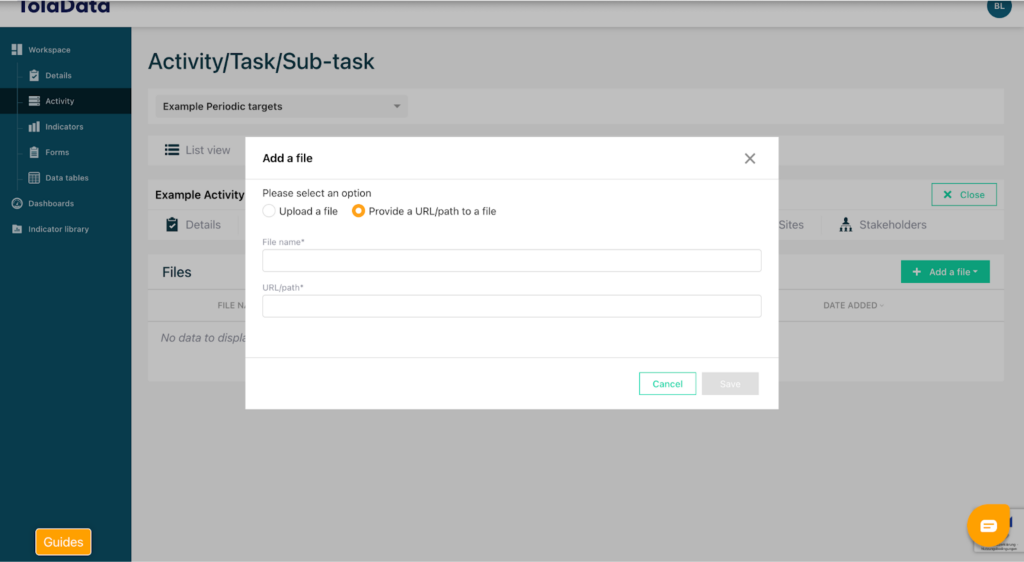
You can also add a file through the sub-tab “Provide a URL/path to a file”. Here you firstly enter the name of the file and copy the URL in the right window for it.
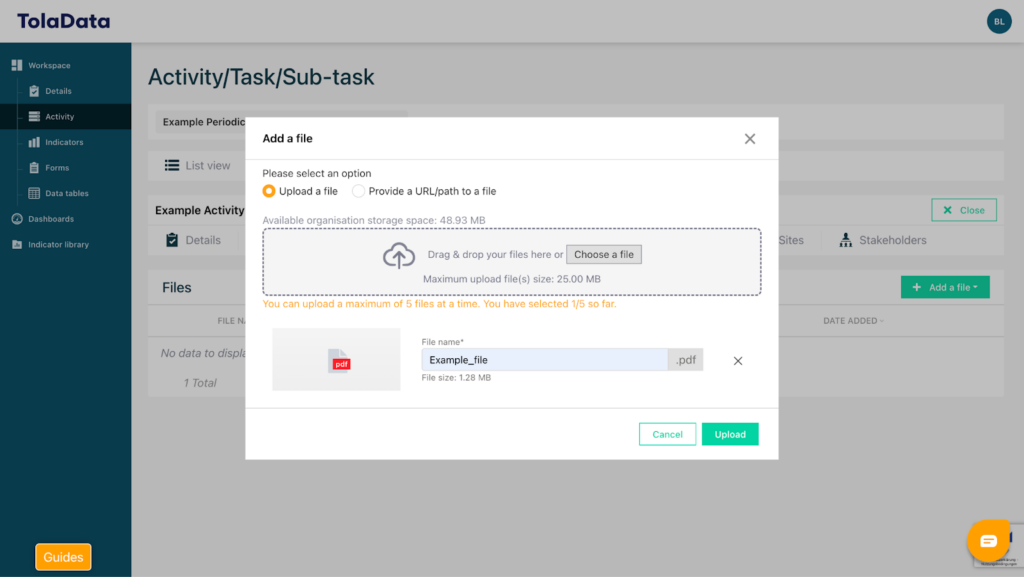
After uploading your file you are able to change the name of the file to your specific needs and you are able to add au to five files at once. To confirm your upload click the green “Upload” button and your file(s) will be uploaded and ready to use.
Now you can access the file(s) directly via the “Files” tab and see everything that has been uploaded to the particular [art of your activity plan.
11. Link an indicator – “Indicators”-feature
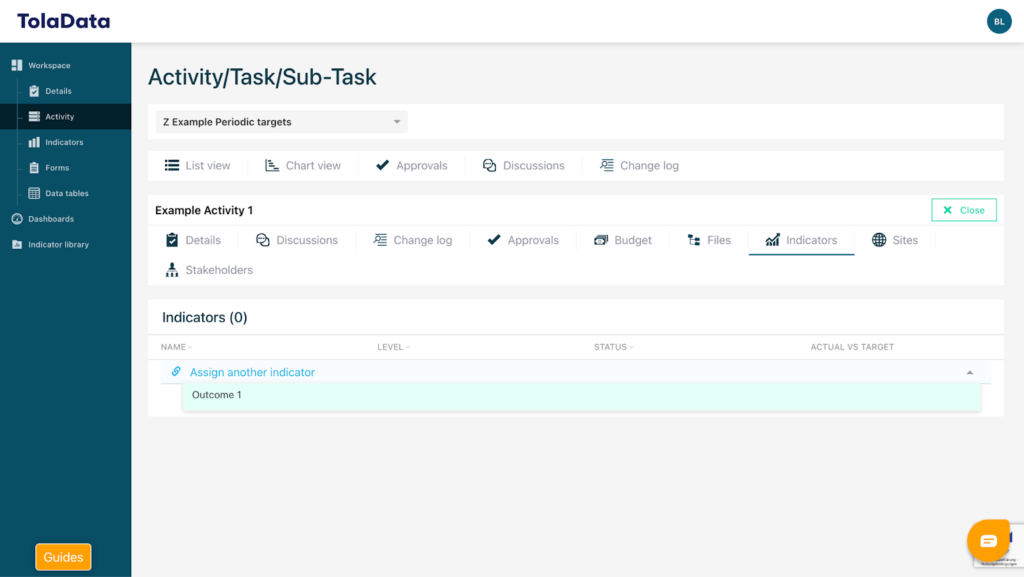
To add an indicator to a specific section of your activity plan head over to the “Indicators” tab. Here you firstly have a completely empty space or in case someone else added something there might be some notes in this section.
To link an indicator click the “Assign another indicator” button.
Now a menu appears where you can choose from all the indicators that have been created inside this particular workspace. To confirm the indicator you want to attach simply click on it and it will be linked to the section of the activity plan. It is possible to link more than one indicator by repeating the process.
12. Add a site – “Sites”-feature
To add a site to a specific section of your activity plan head over to the “Sites” tab. Here you firstly have a completely empty space or in case someone else added something there might be some notes in this section.
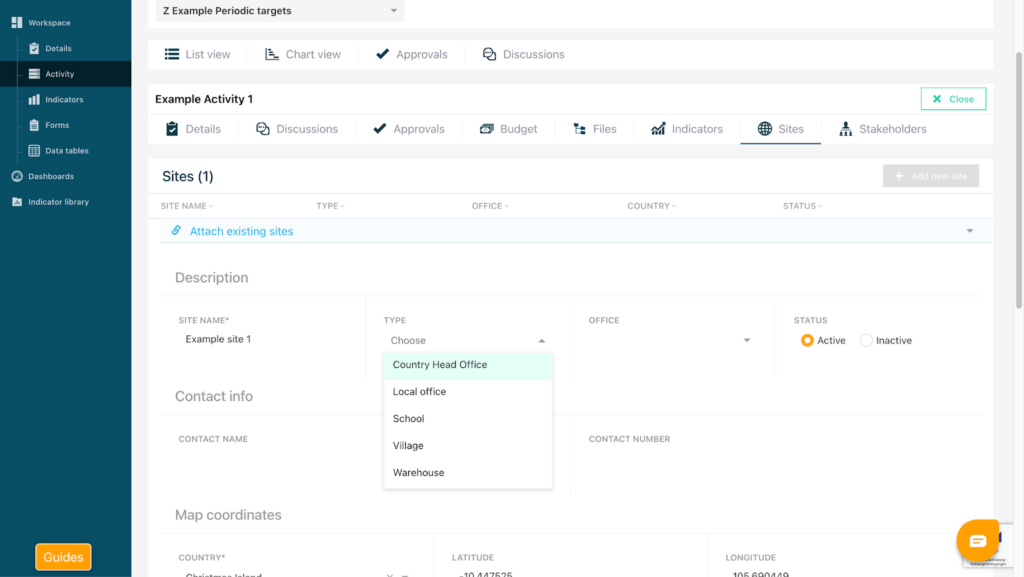
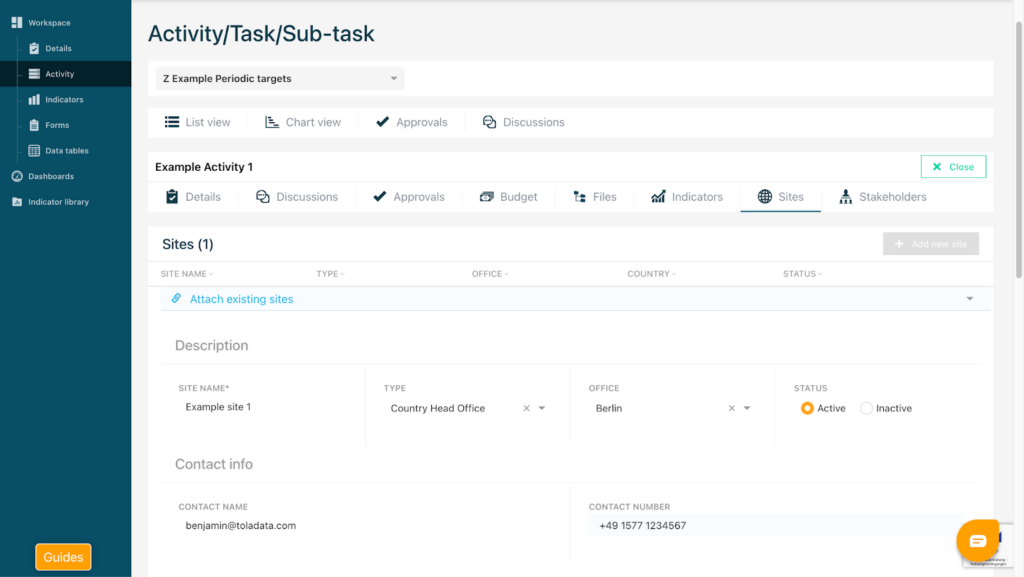
To add a site click the “Add new site” button.
Here you can enter a name for your site and choose the type of your site under “TYPE”. A menu appears where you can choose from different types that are configured in the details section of your workspace.
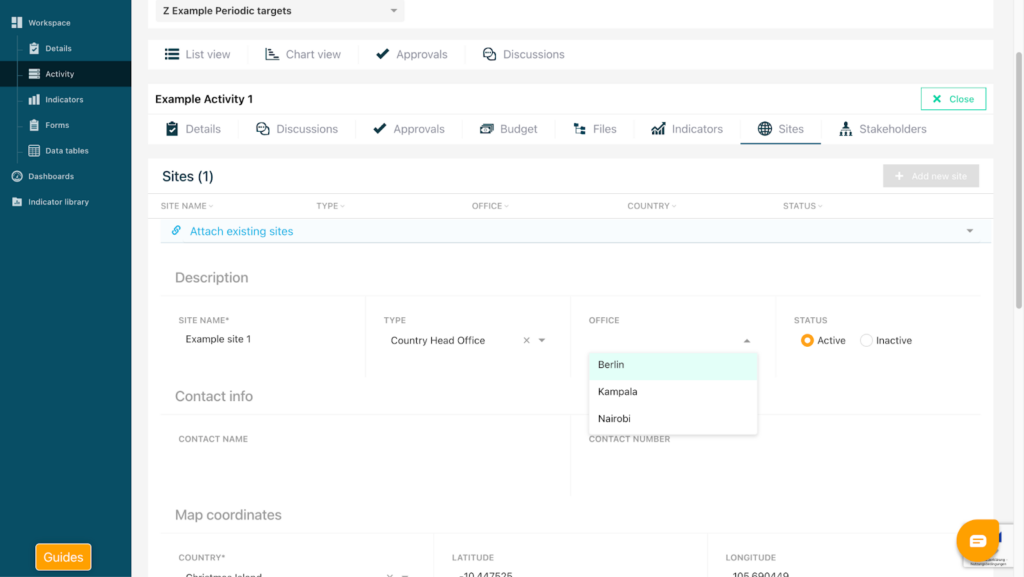
Under “Office” you can select the location of your office. A menu appears where every possible location is listed.
After that you can enter your contact information.
Additionally you can choose a map via Google Maps to visualise your location. Under “Country” a list of all countries appears and you can choose the country you need. By dragging the little needle you can precisely select the specific area.
There is also the possibility to add notes regarding the Activity plan into the “Notes” section.
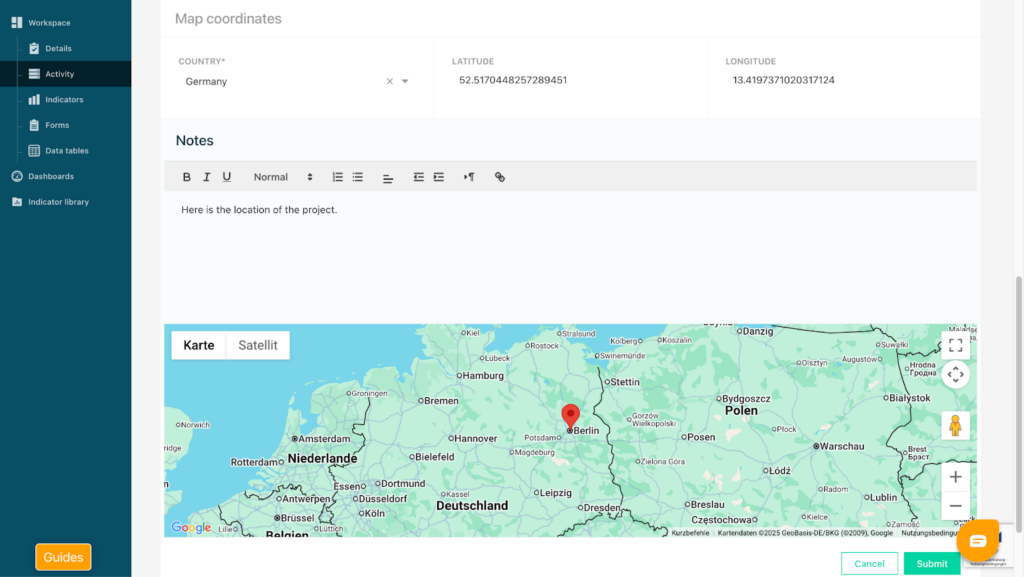
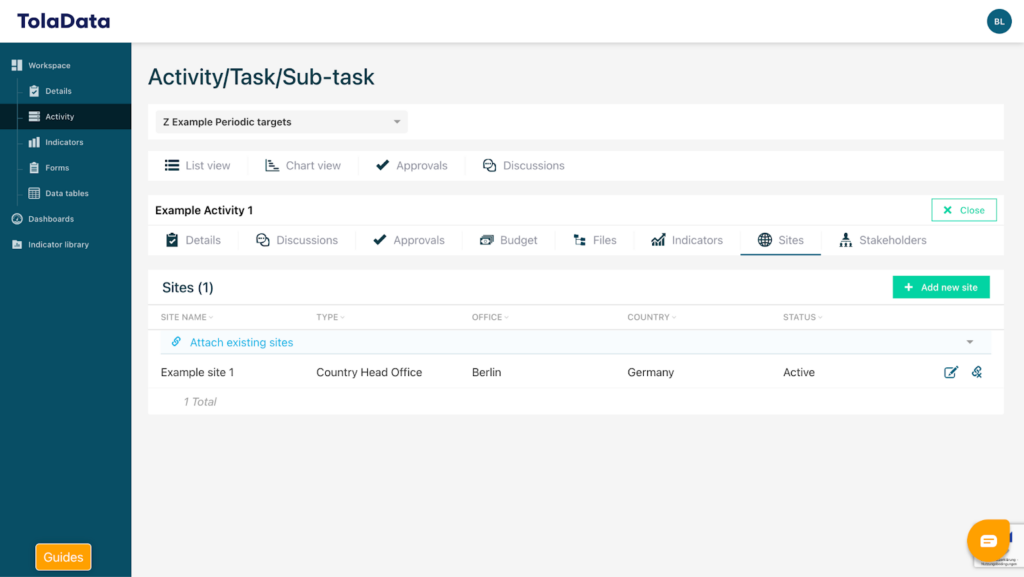
By clicking “Submit” you save the added site and it appears in the overview.
13. Add a stakeholder – “Stakeholders”-feature
To add a stakeholder to a specific section of your activity plan head over to the “Stakeholders” tab. Here you firstly have a completely empty space or in case someone else added something there might be some notes in this section.
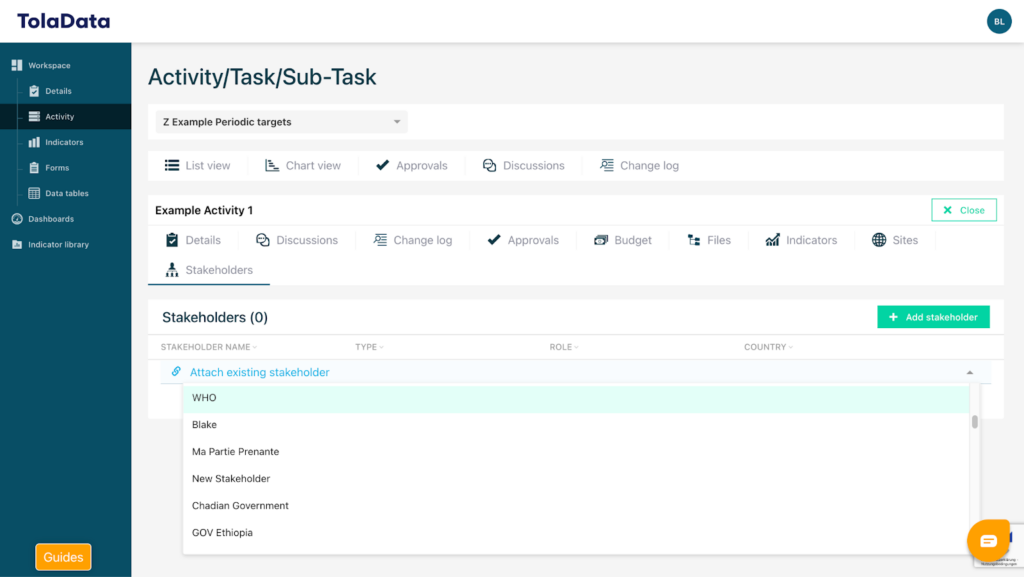
To add a stakeholder you could either choose from all existing stakeholders by clicking the blue “Attach existing stakeholder” button. Now you can choose from the menu that appears by clicking on the explicit stakeholder you want to attach and it will be linked to the section of the activity plan.
It is possible to link more than one Stakeholder by repeating the process.
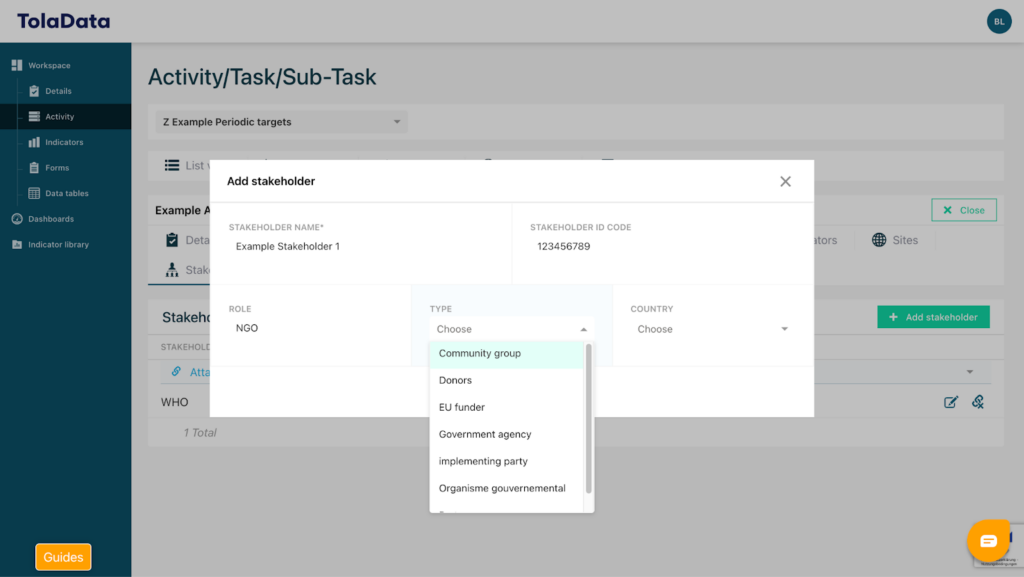
Otherwise there is the possibility to create a stakeholder by yourself by clicking the green “Add Stakeholder” button.
Here you can insert a name, ID code and role for the stakeholder you want to add.
Under “Type” you are able to define which type of stakeholder is being added by yourself. A menu appears where you can choose from the seven different categories given (Community group, Donor, EU funder, Government agency, implementing party, Organisme governmental or Partners).
Under “Country” you can choose the country from which the stakeholders comes from by clicking on it in the menu.
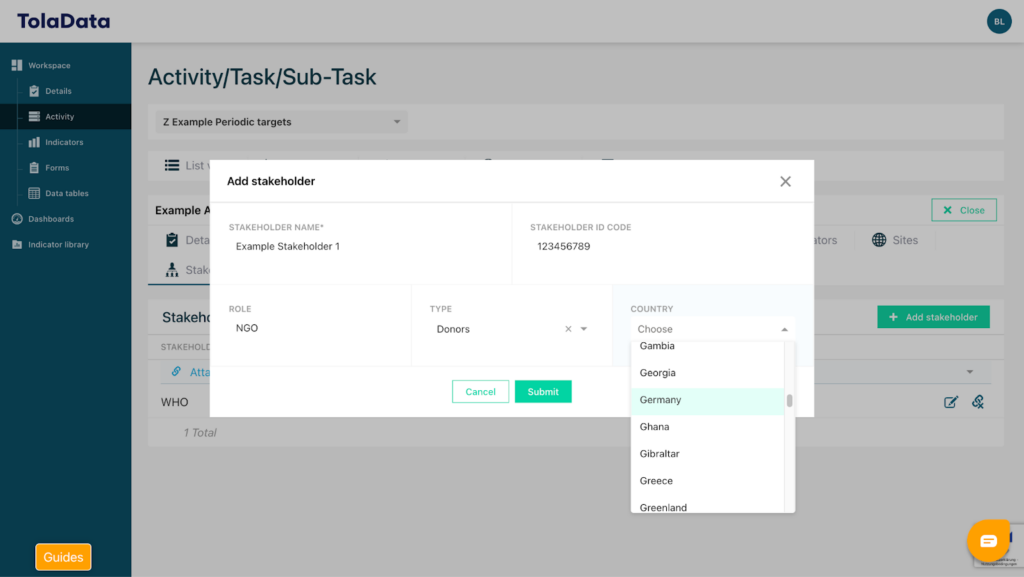
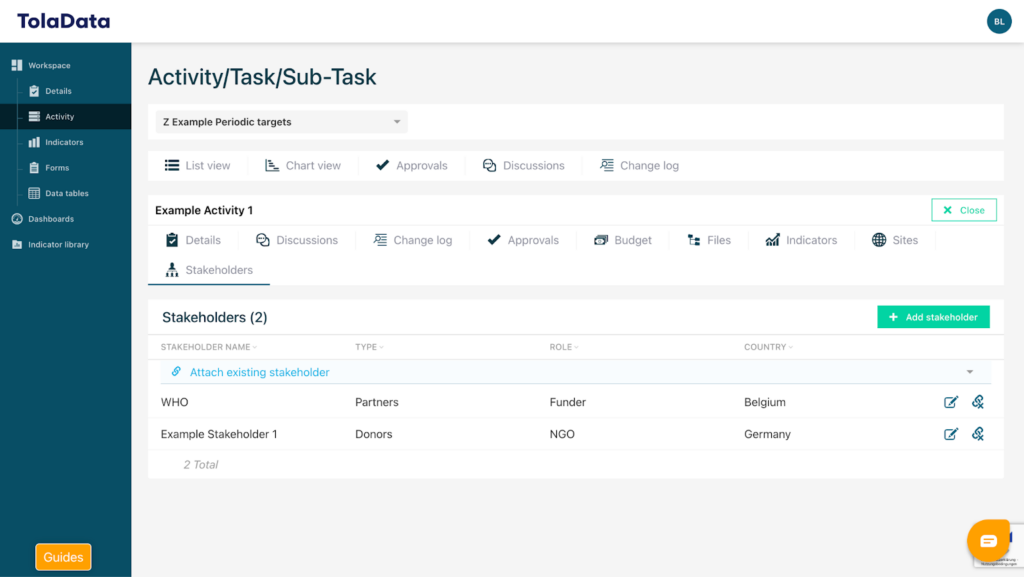
To save all your steps click on the green “Submit” button and the stakeholder will automatically be added into the overview.
To get a deeper understanding of the Activity Section and its Features you can also watch the Youtube videos in the Playlist which are showing you how to configurate each Feature to your specific needs.
Access via the link here: https://www.youtube.com/watch?v=KuQ1HVTpWJg&list=PLkbrw76fAxIDv3qLORHO6sruu4jgwy6fM