ONA Overview
ONA (https://ona.io/) is a mobile data collection solution and application built to empower field staff. The platform is Open Data Kit based meaning it has easy integration with ODK briefcase.
ONA offers both a free and paid plan. The free plan is restricted in the number of form submissions, third party integration and has limited customer support.
An introduction to the tool can be found here: https://help.ona.io/knowledge-base/guide-new-to-ona/
Features
- ONA allows users to author forms that capture GPS, error validation, logic, repeats, signatures, and photos.
- Form authoring is done using the popular XLSForm standard.
- There are two different pricing plan structures as there is a ‘personal plan’ and ‘organization plan’. The personal plan caters to smaller teams whilst the organizational plan allows for more control over user permissions which may be desirable for larger organizations.
- Online and offline data collection.
- There are Role-based permissions for staff and the ability to filter data sets which protects real time sensitive data whilst ensuring collaboration.
Technical
- ONA can be hosted locally and the platform will assist organizations in setting up and managing local instances.
- ONA’s own servers are located in Frankfurt, Germany.
- ONA is an open-source ODK-based mobile data collection tool. The open-source license is copyleft.
Additional features
- RapidPro integration is available on the paid plan and allows users to send data to RapidPro and configure it to send SMS messages when data reaches a criteria.
- The paid plan also has Customised XLS files which are automatically updated when new submissions are received.
Using ONA with TolaData
Integration with TolaData
- Import collected data from ONA directly into TolaData’s Data Tables via API.
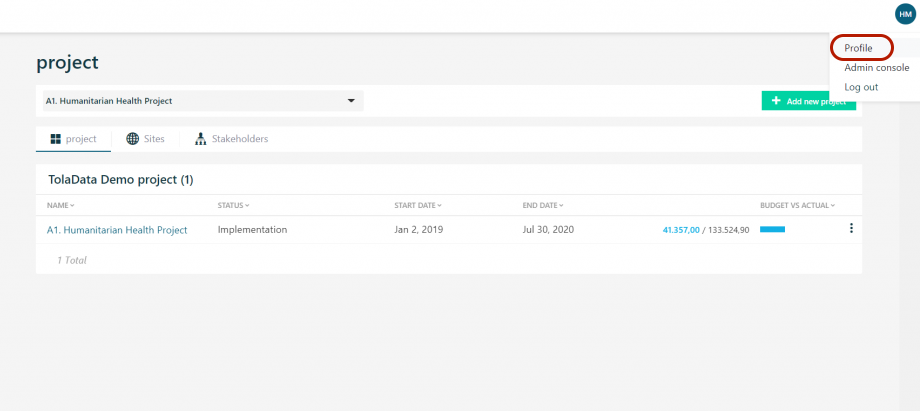
- Firstly, navigate to the ‘Profile’ section by clicking the blue circle icon in the top right-hand corner of the screen and select ‘Profile’
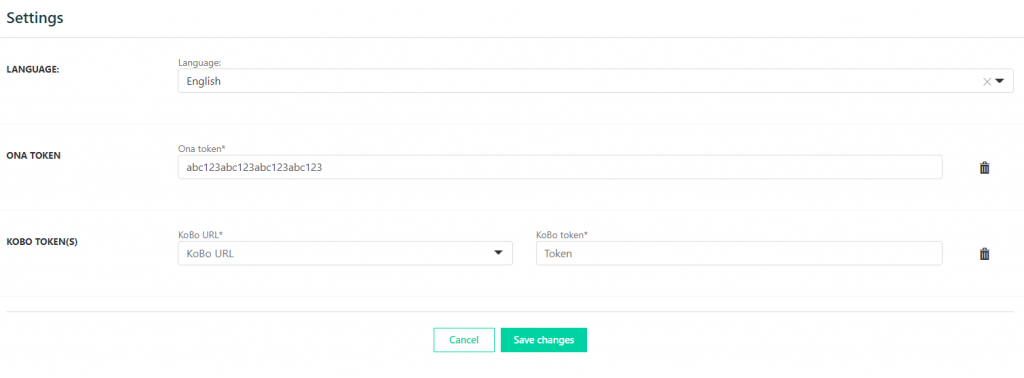
- Scroll to the ‘Settings’ section. Find your API key in your ONA account and simply copy and paste this into the box which says ‘Ona Token’. When you’re finished, click ‘Save changes’.
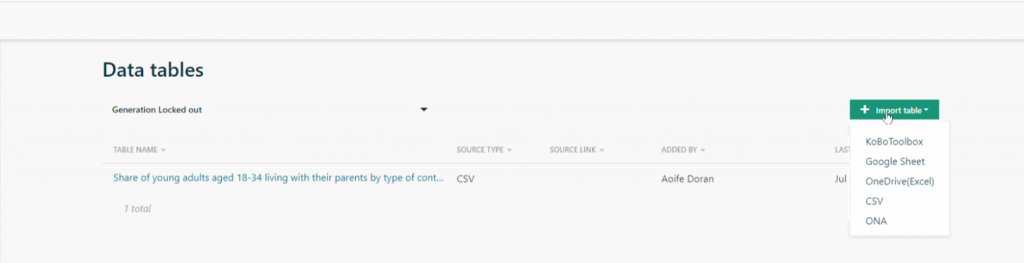
- Next, navigate to the data tables section and select ‘Import table’. A range of options will appear in the drop-down menu, select ‘ONA’.
- Next, the platform will ask you to select the table you would like to use from ONA.
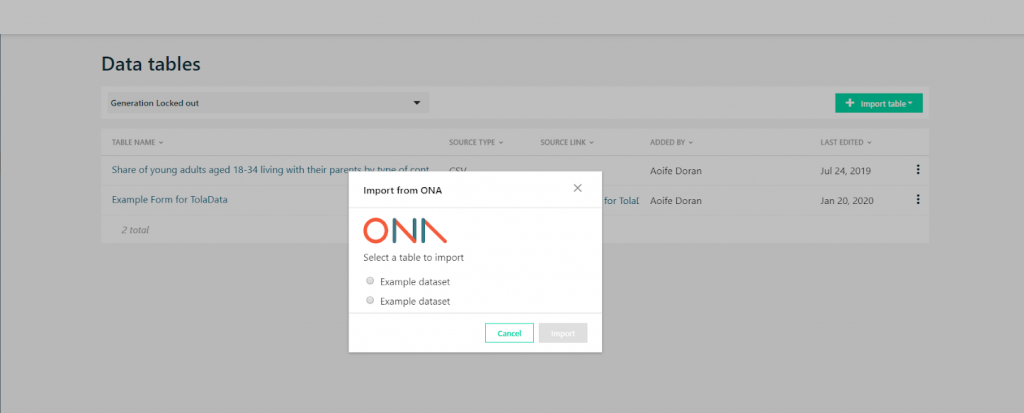
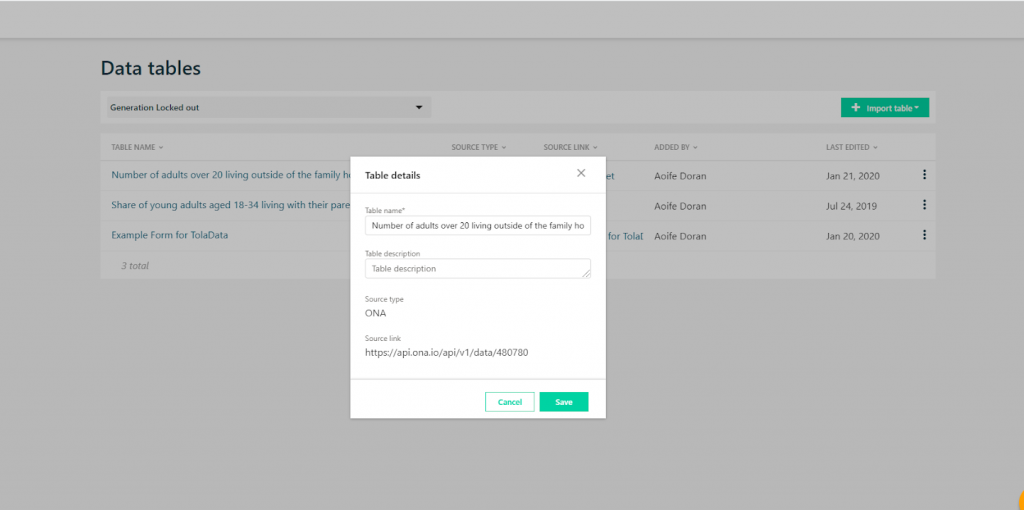
- Once you have selected the table you will be given the opportunity to add a name and a description.
- Check out this article for more information on importing data from third-party data collection tools: https://www.toladata.com/blog/data-collection-tools-in-development-and-humanitarian-sector/