Create your own custom reporting periods to tailor reporting! To watch a video guide on creating a reporting period, click here.
Select a workspace you would like to add a reporting period to, and navigate to the reporting periods section on the workspace details page.
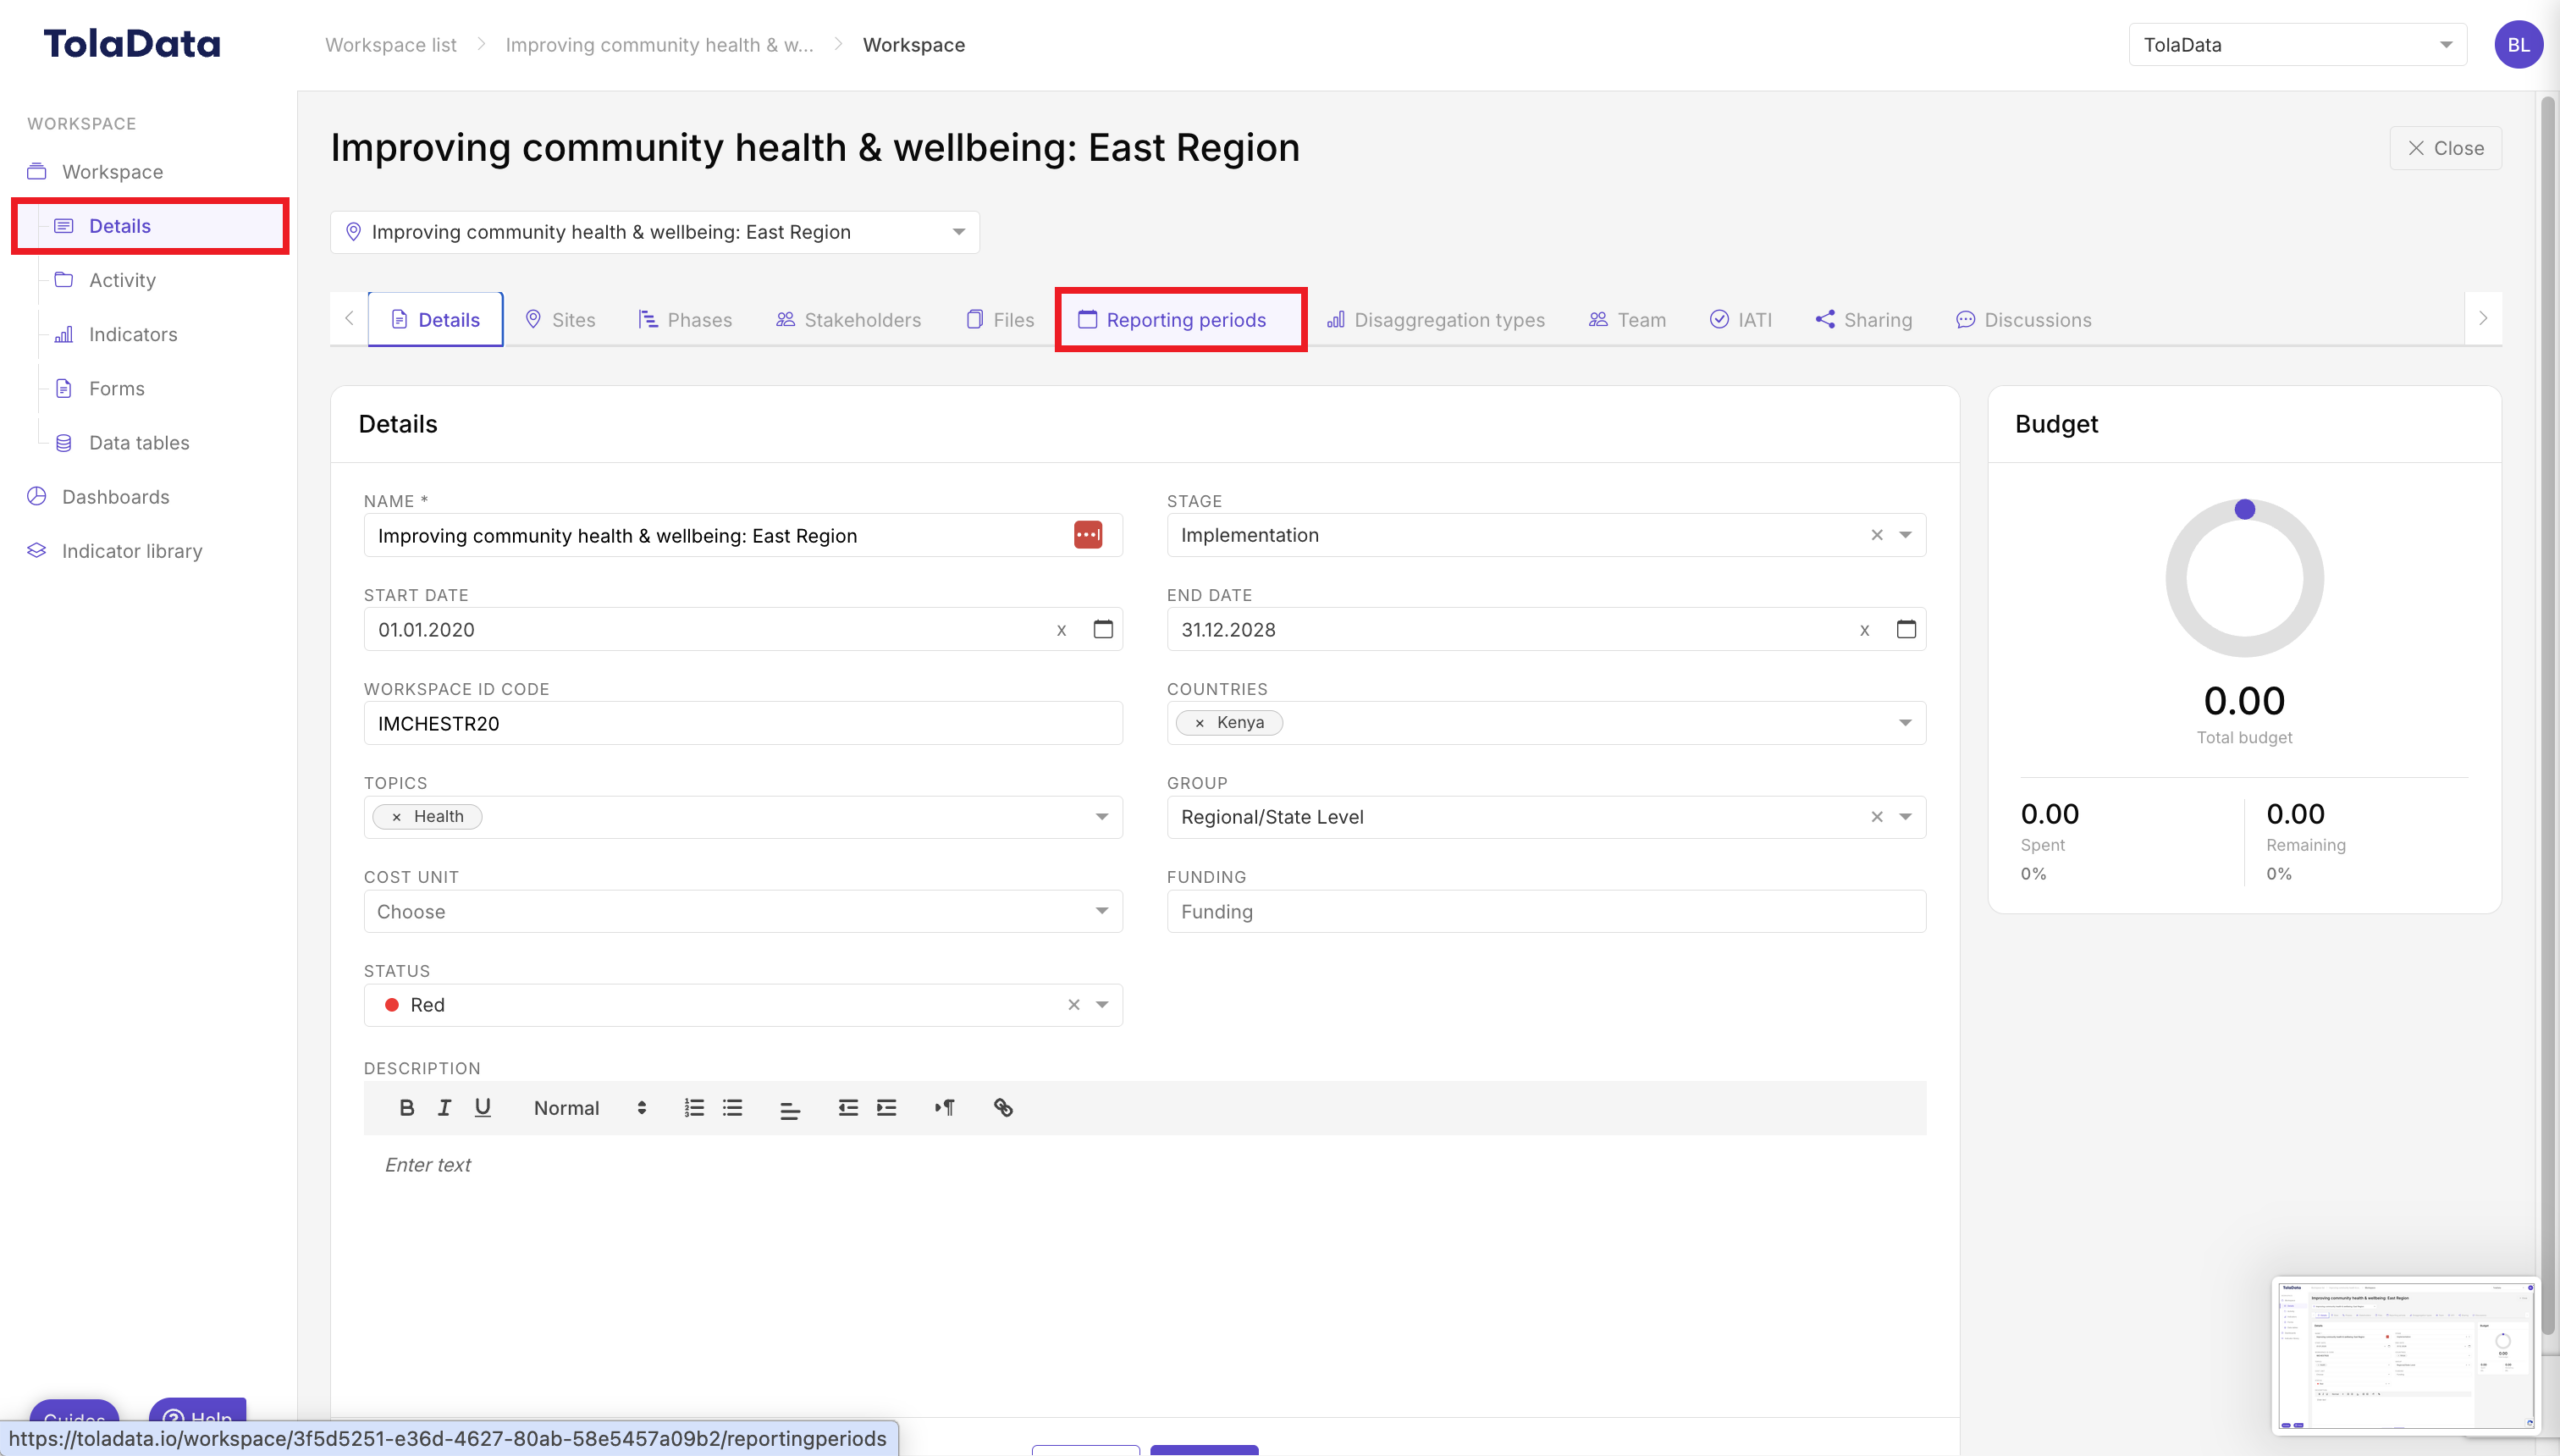
Once inside the reporting periods tab, you will see the standard reporting periods already built into TolaData. These reporting periods are already input into TolaData and follow the standard calendar year. To add your own reporting period, select the green ‘Add new custom reporting period button’.
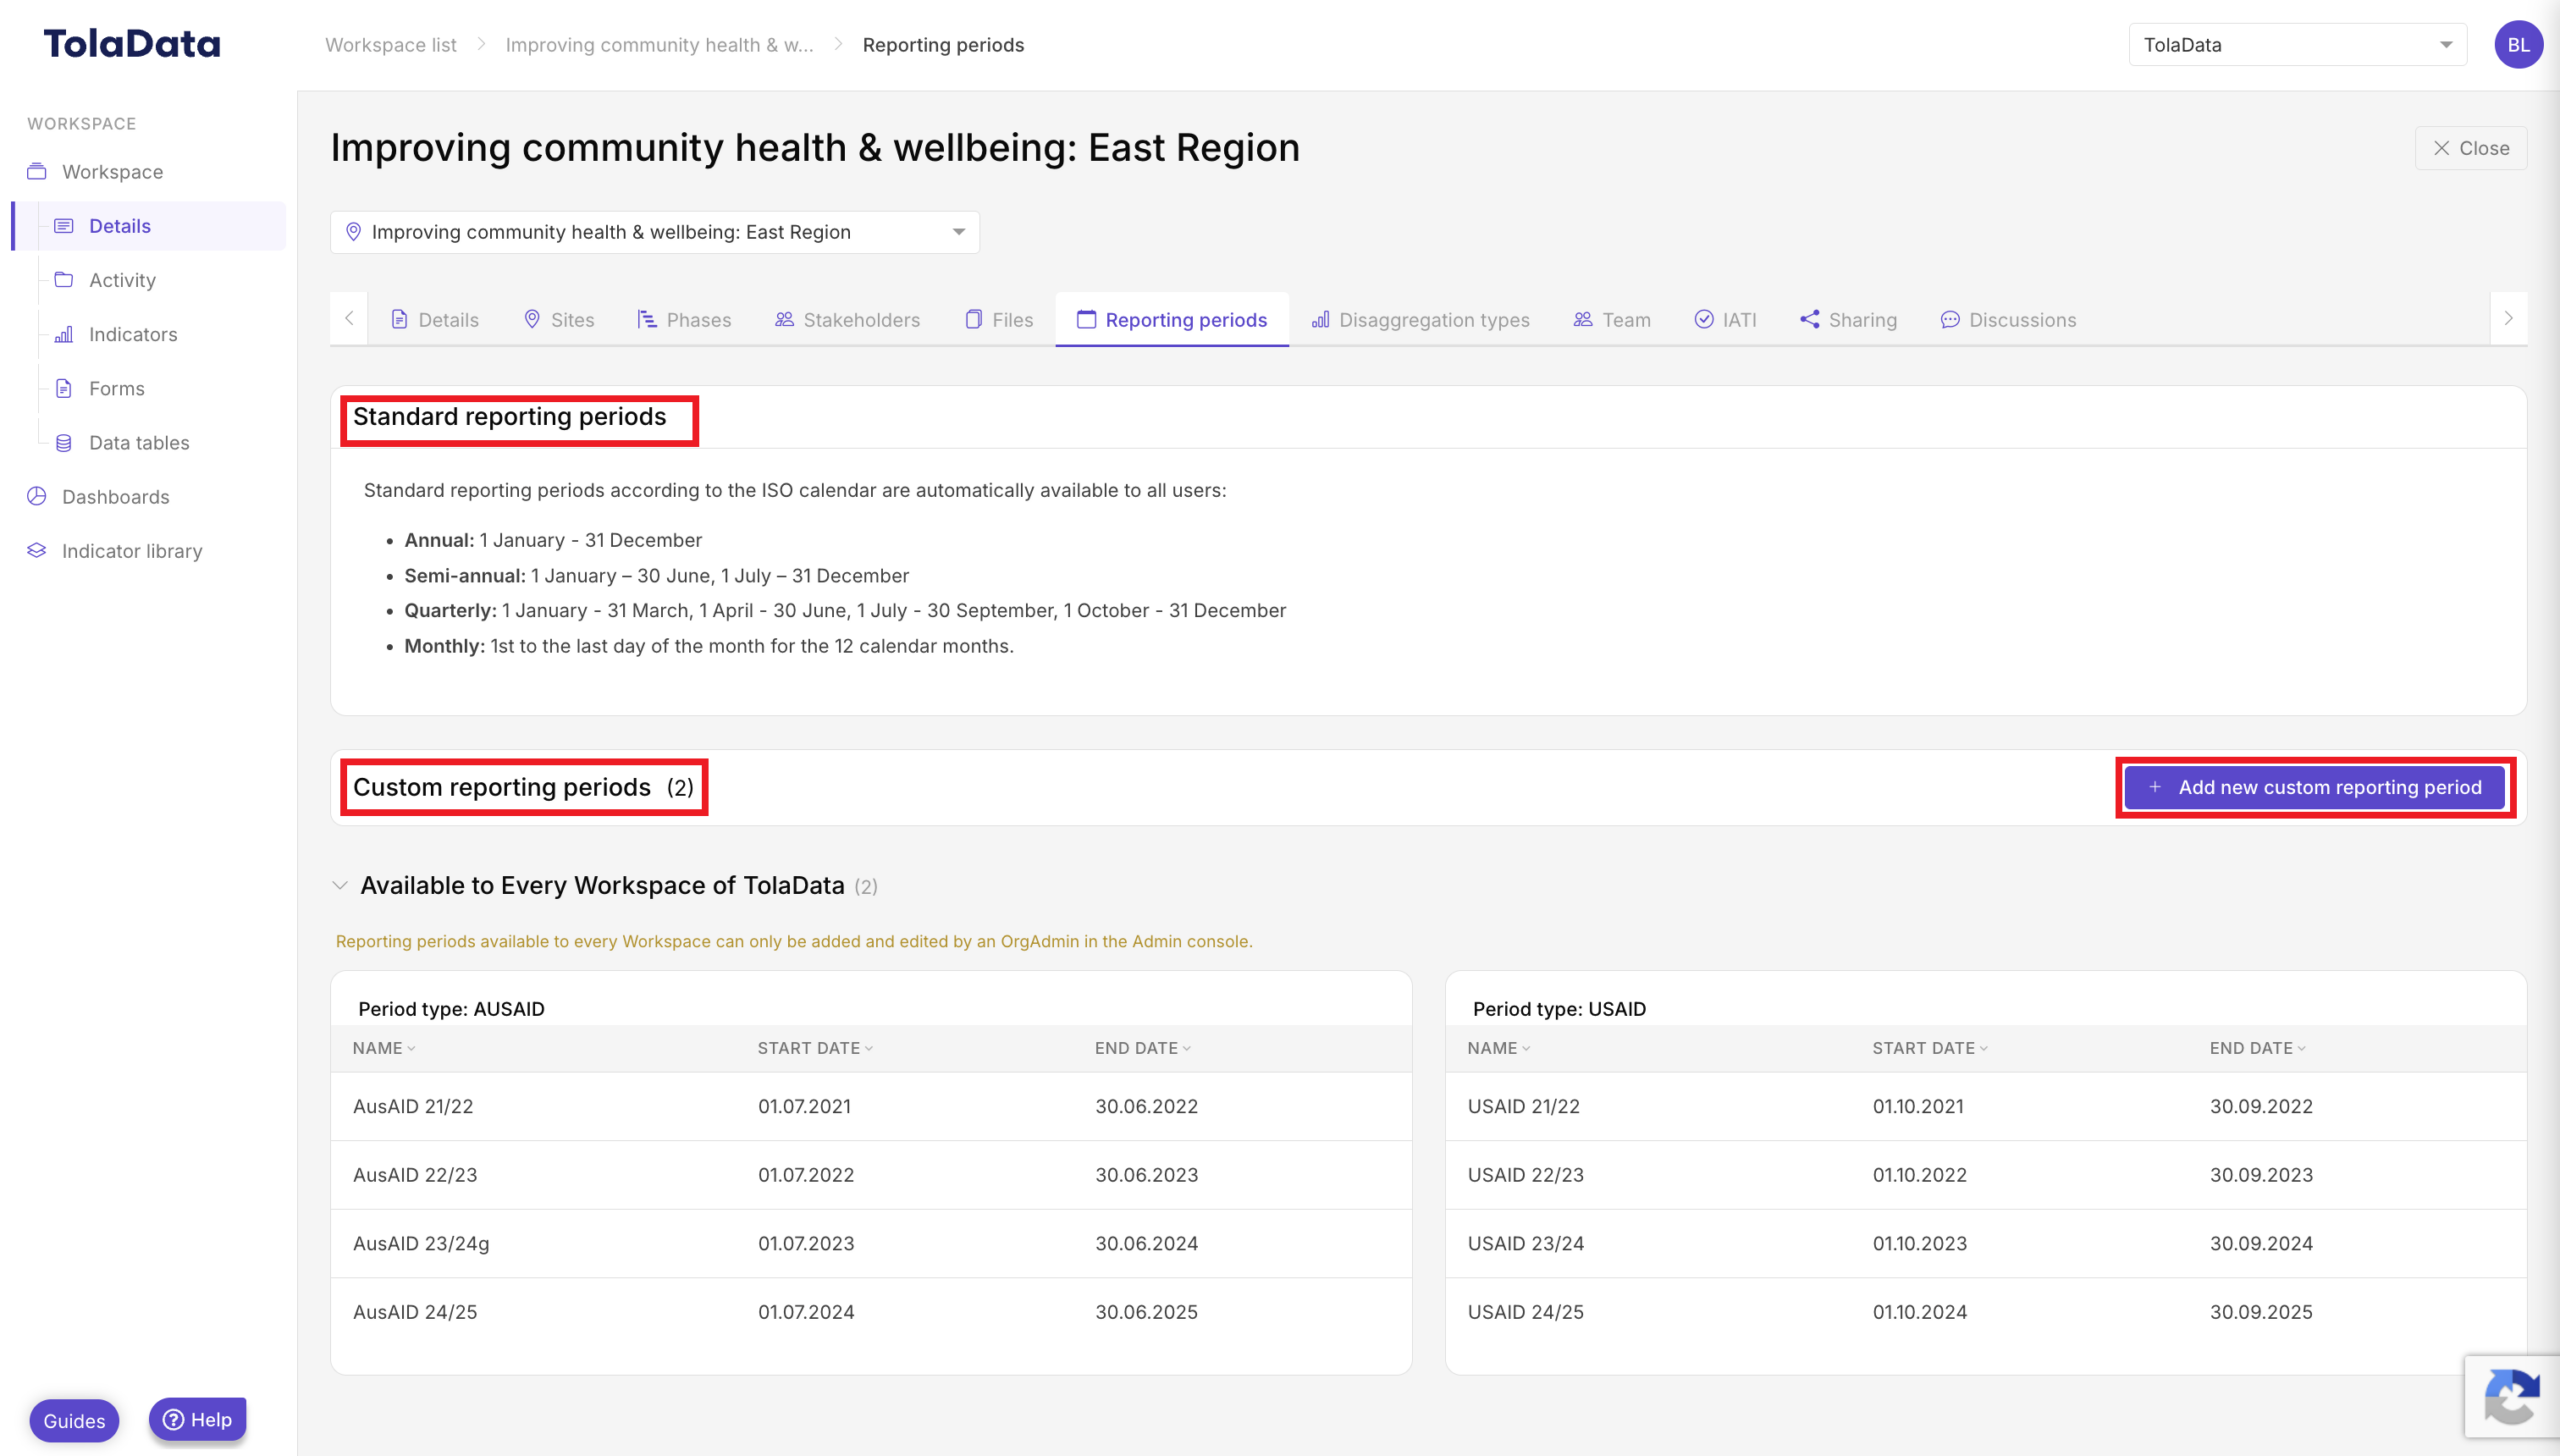
A pop-up will appear. Reporting periods created here are available only to this workspace. To create reporting periods for every workspace across the platform, an Org Admin can add them in the Admin Console.
Enter a name for your reporting period type and name the reporting period itself and associate some dates.
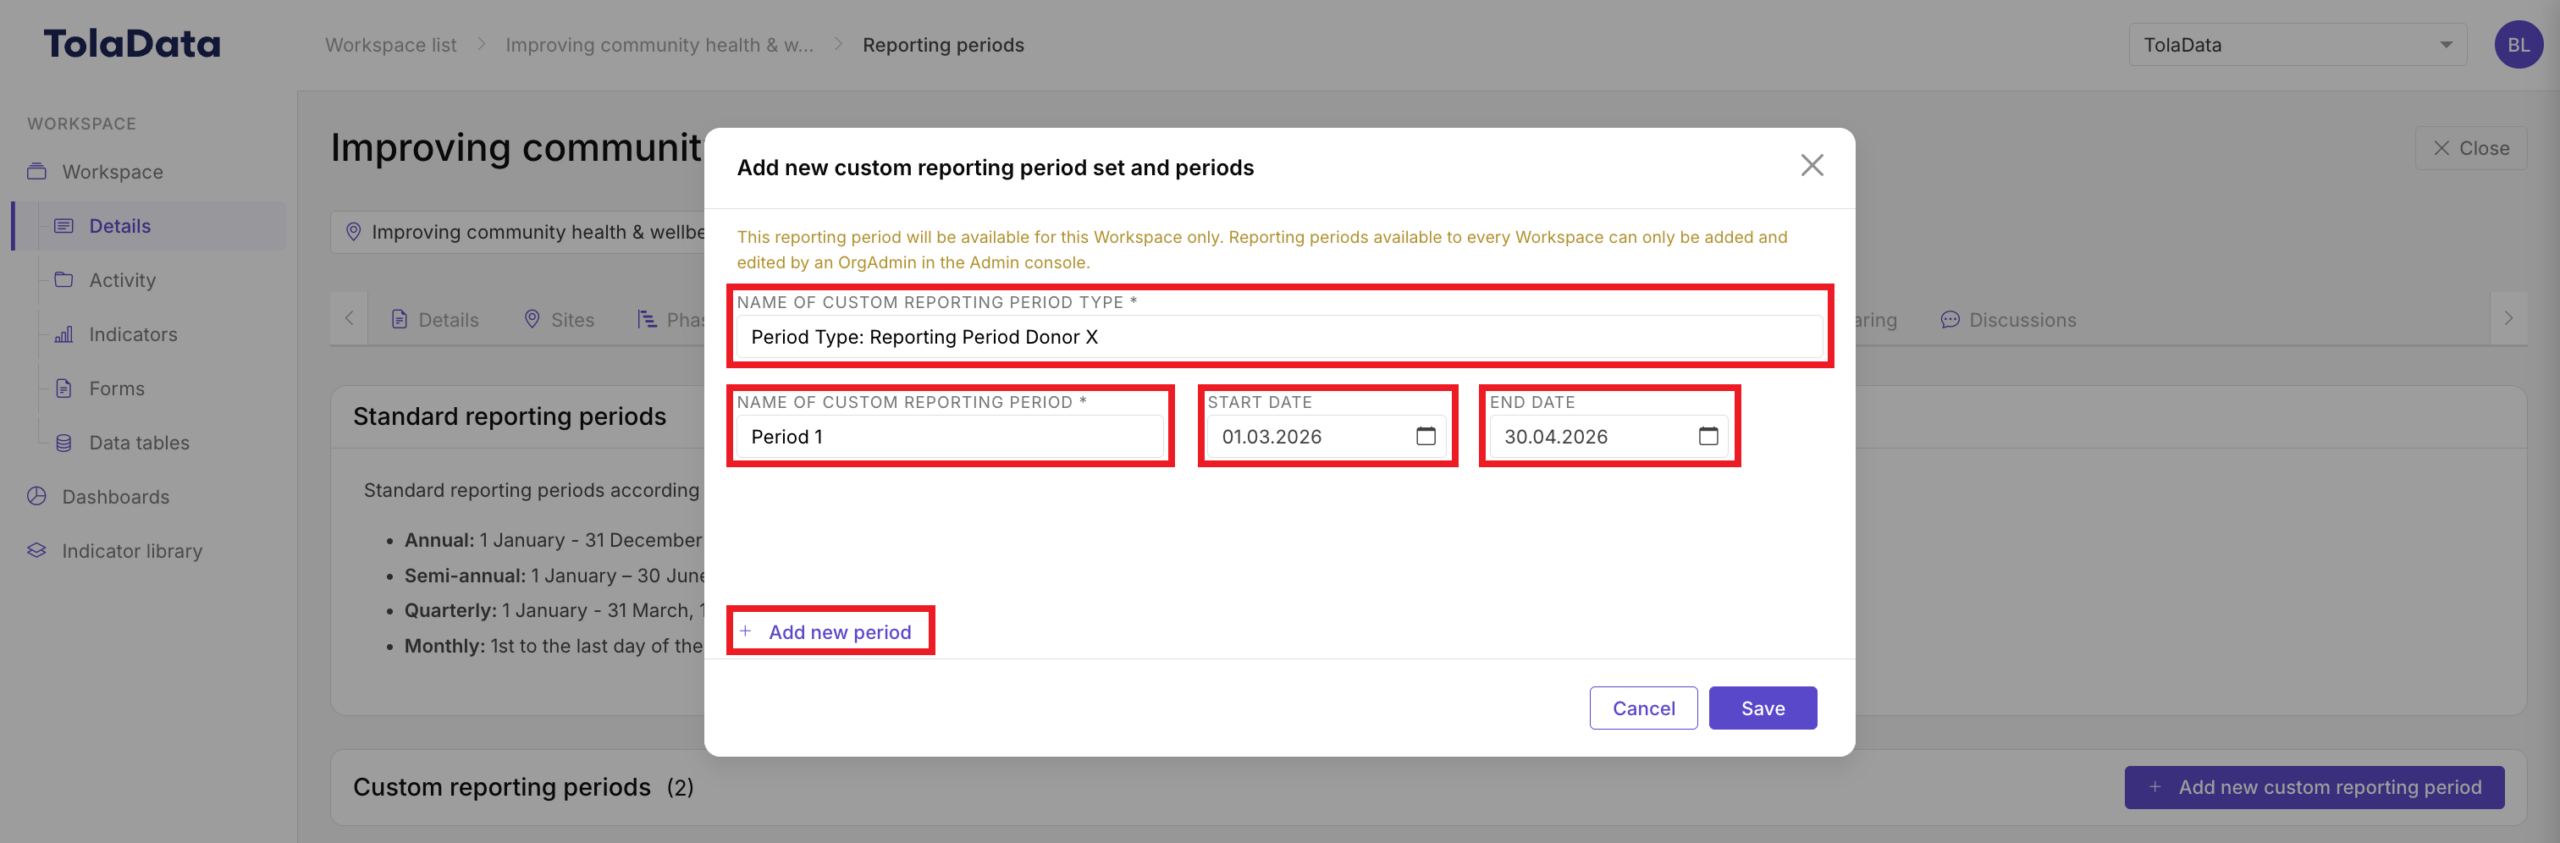
To add additional dates, select ‘Add new period’.
You can add as many reporting periods as you need. Once you have added all relevant periods, select save.
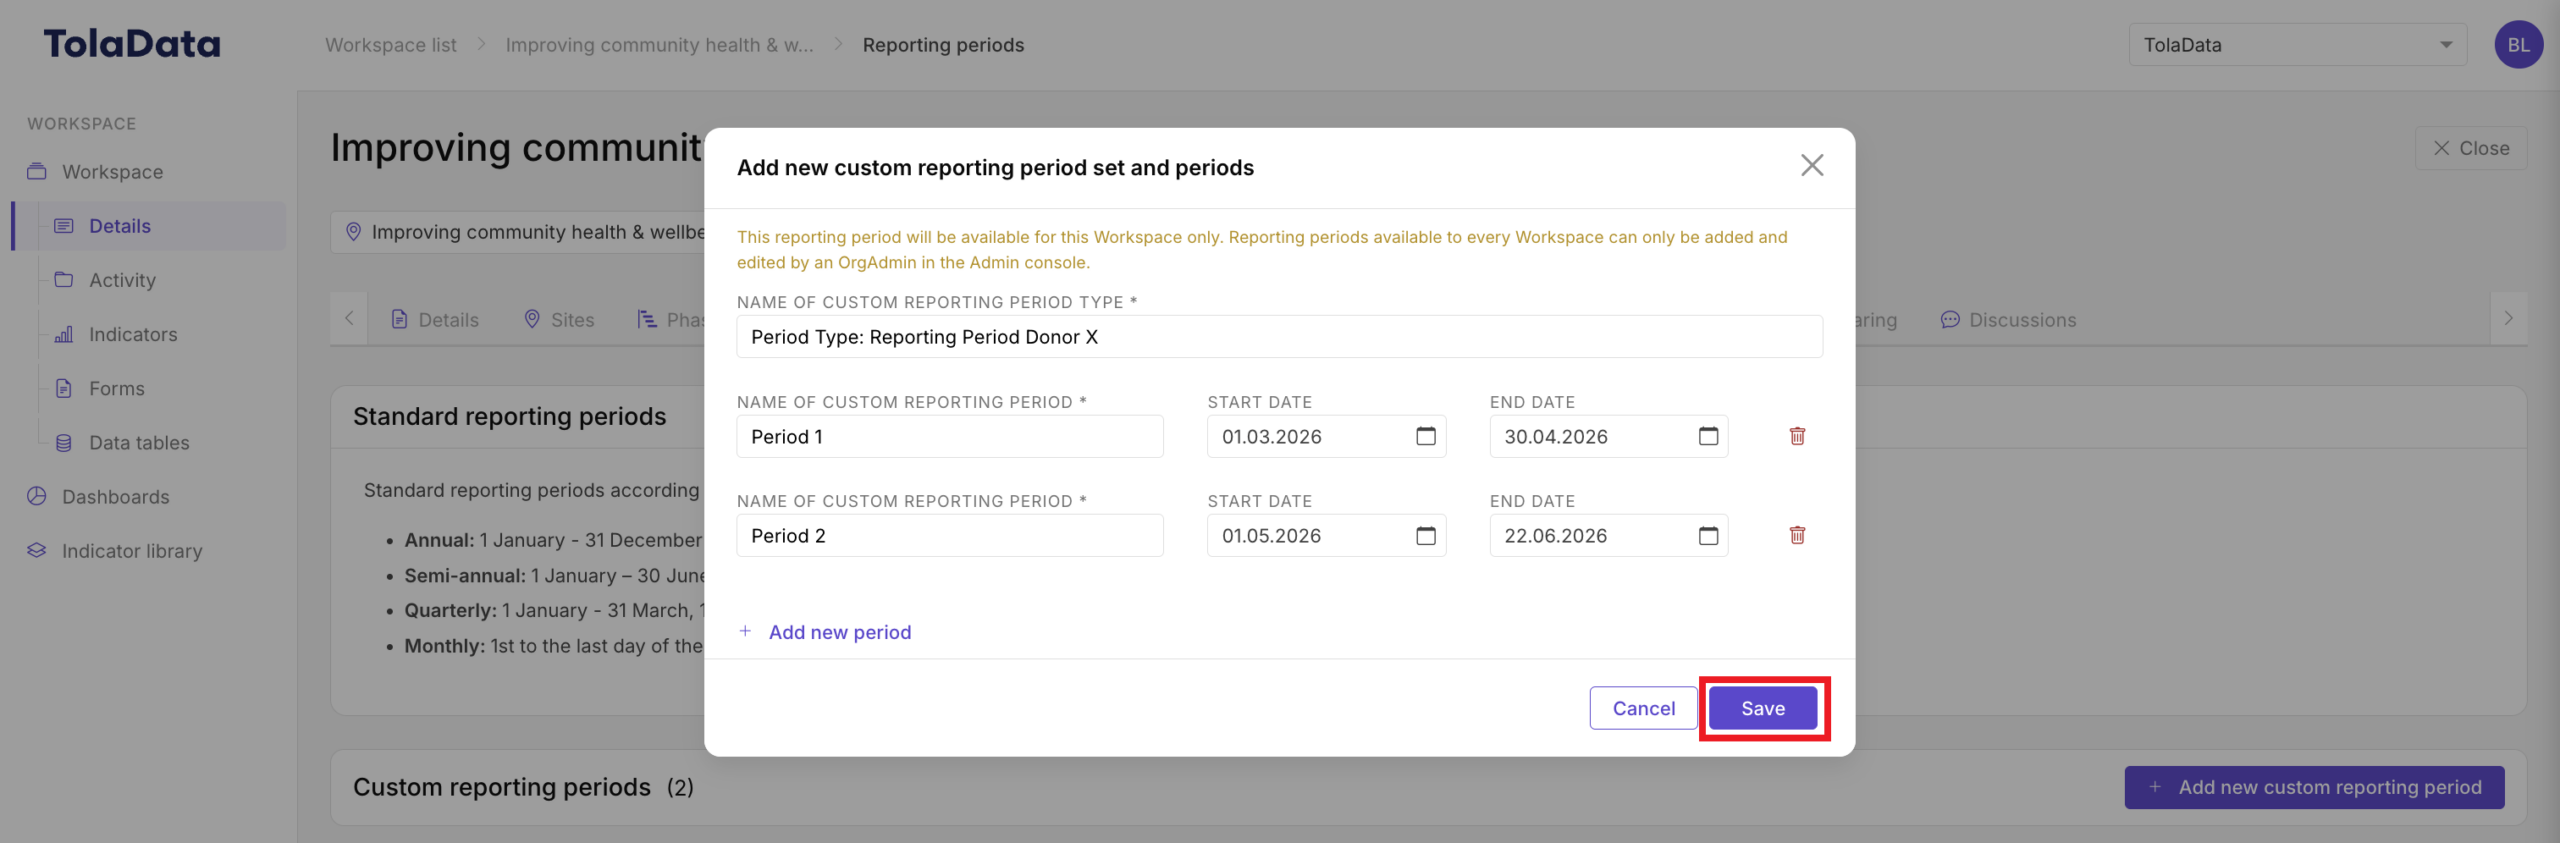
Your new reporting period type will be listed in the workspace.
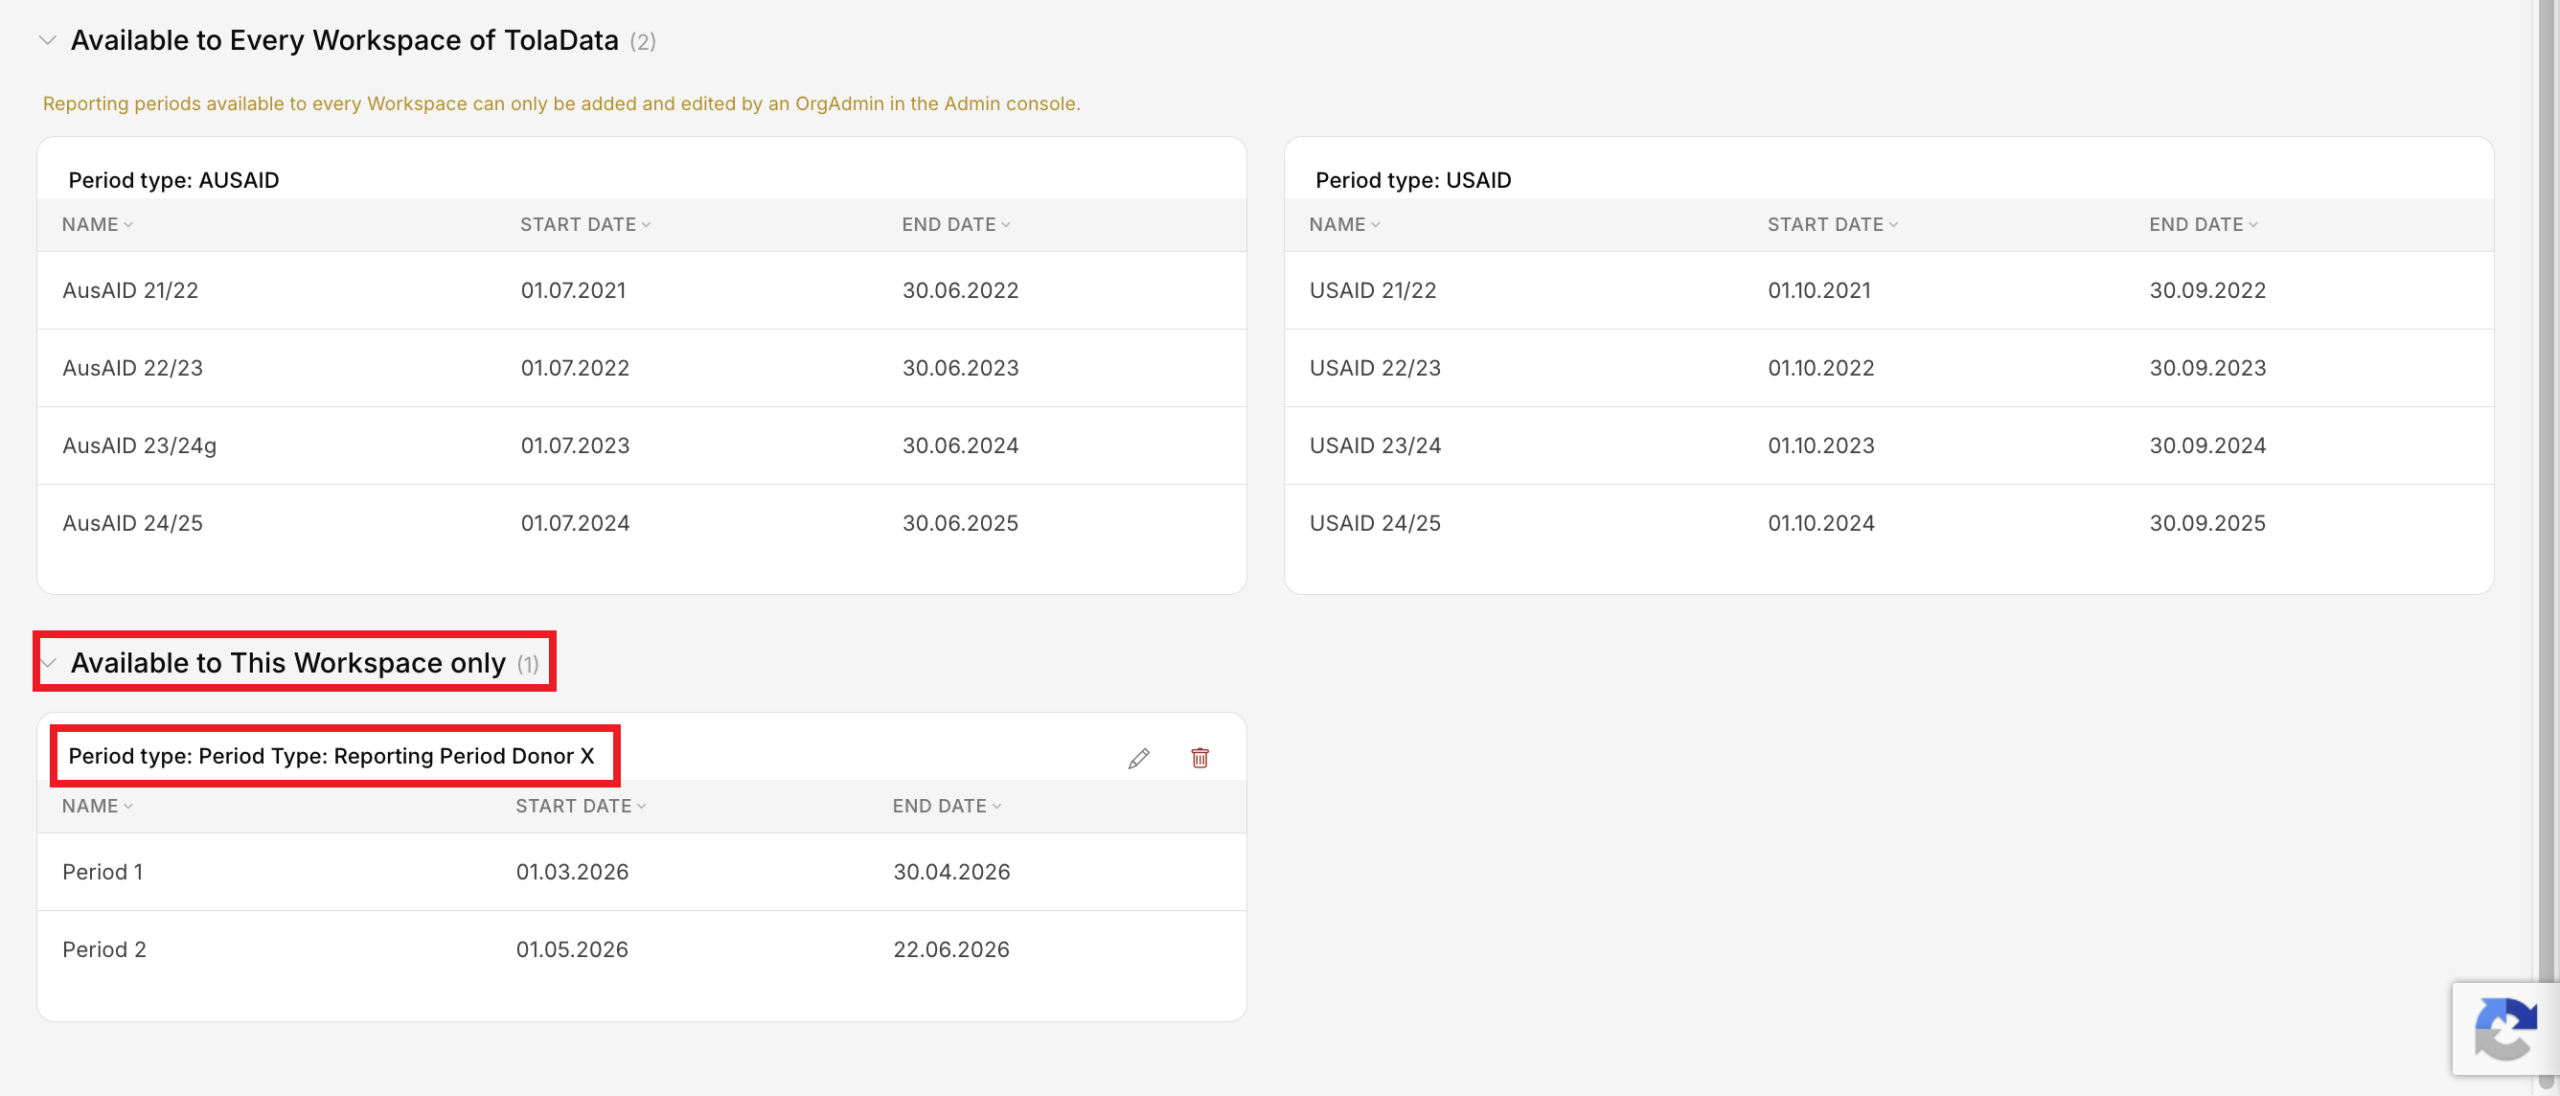
The reporting period is now ready to be linked to an indicator. To do so, navigate to the indicators section.
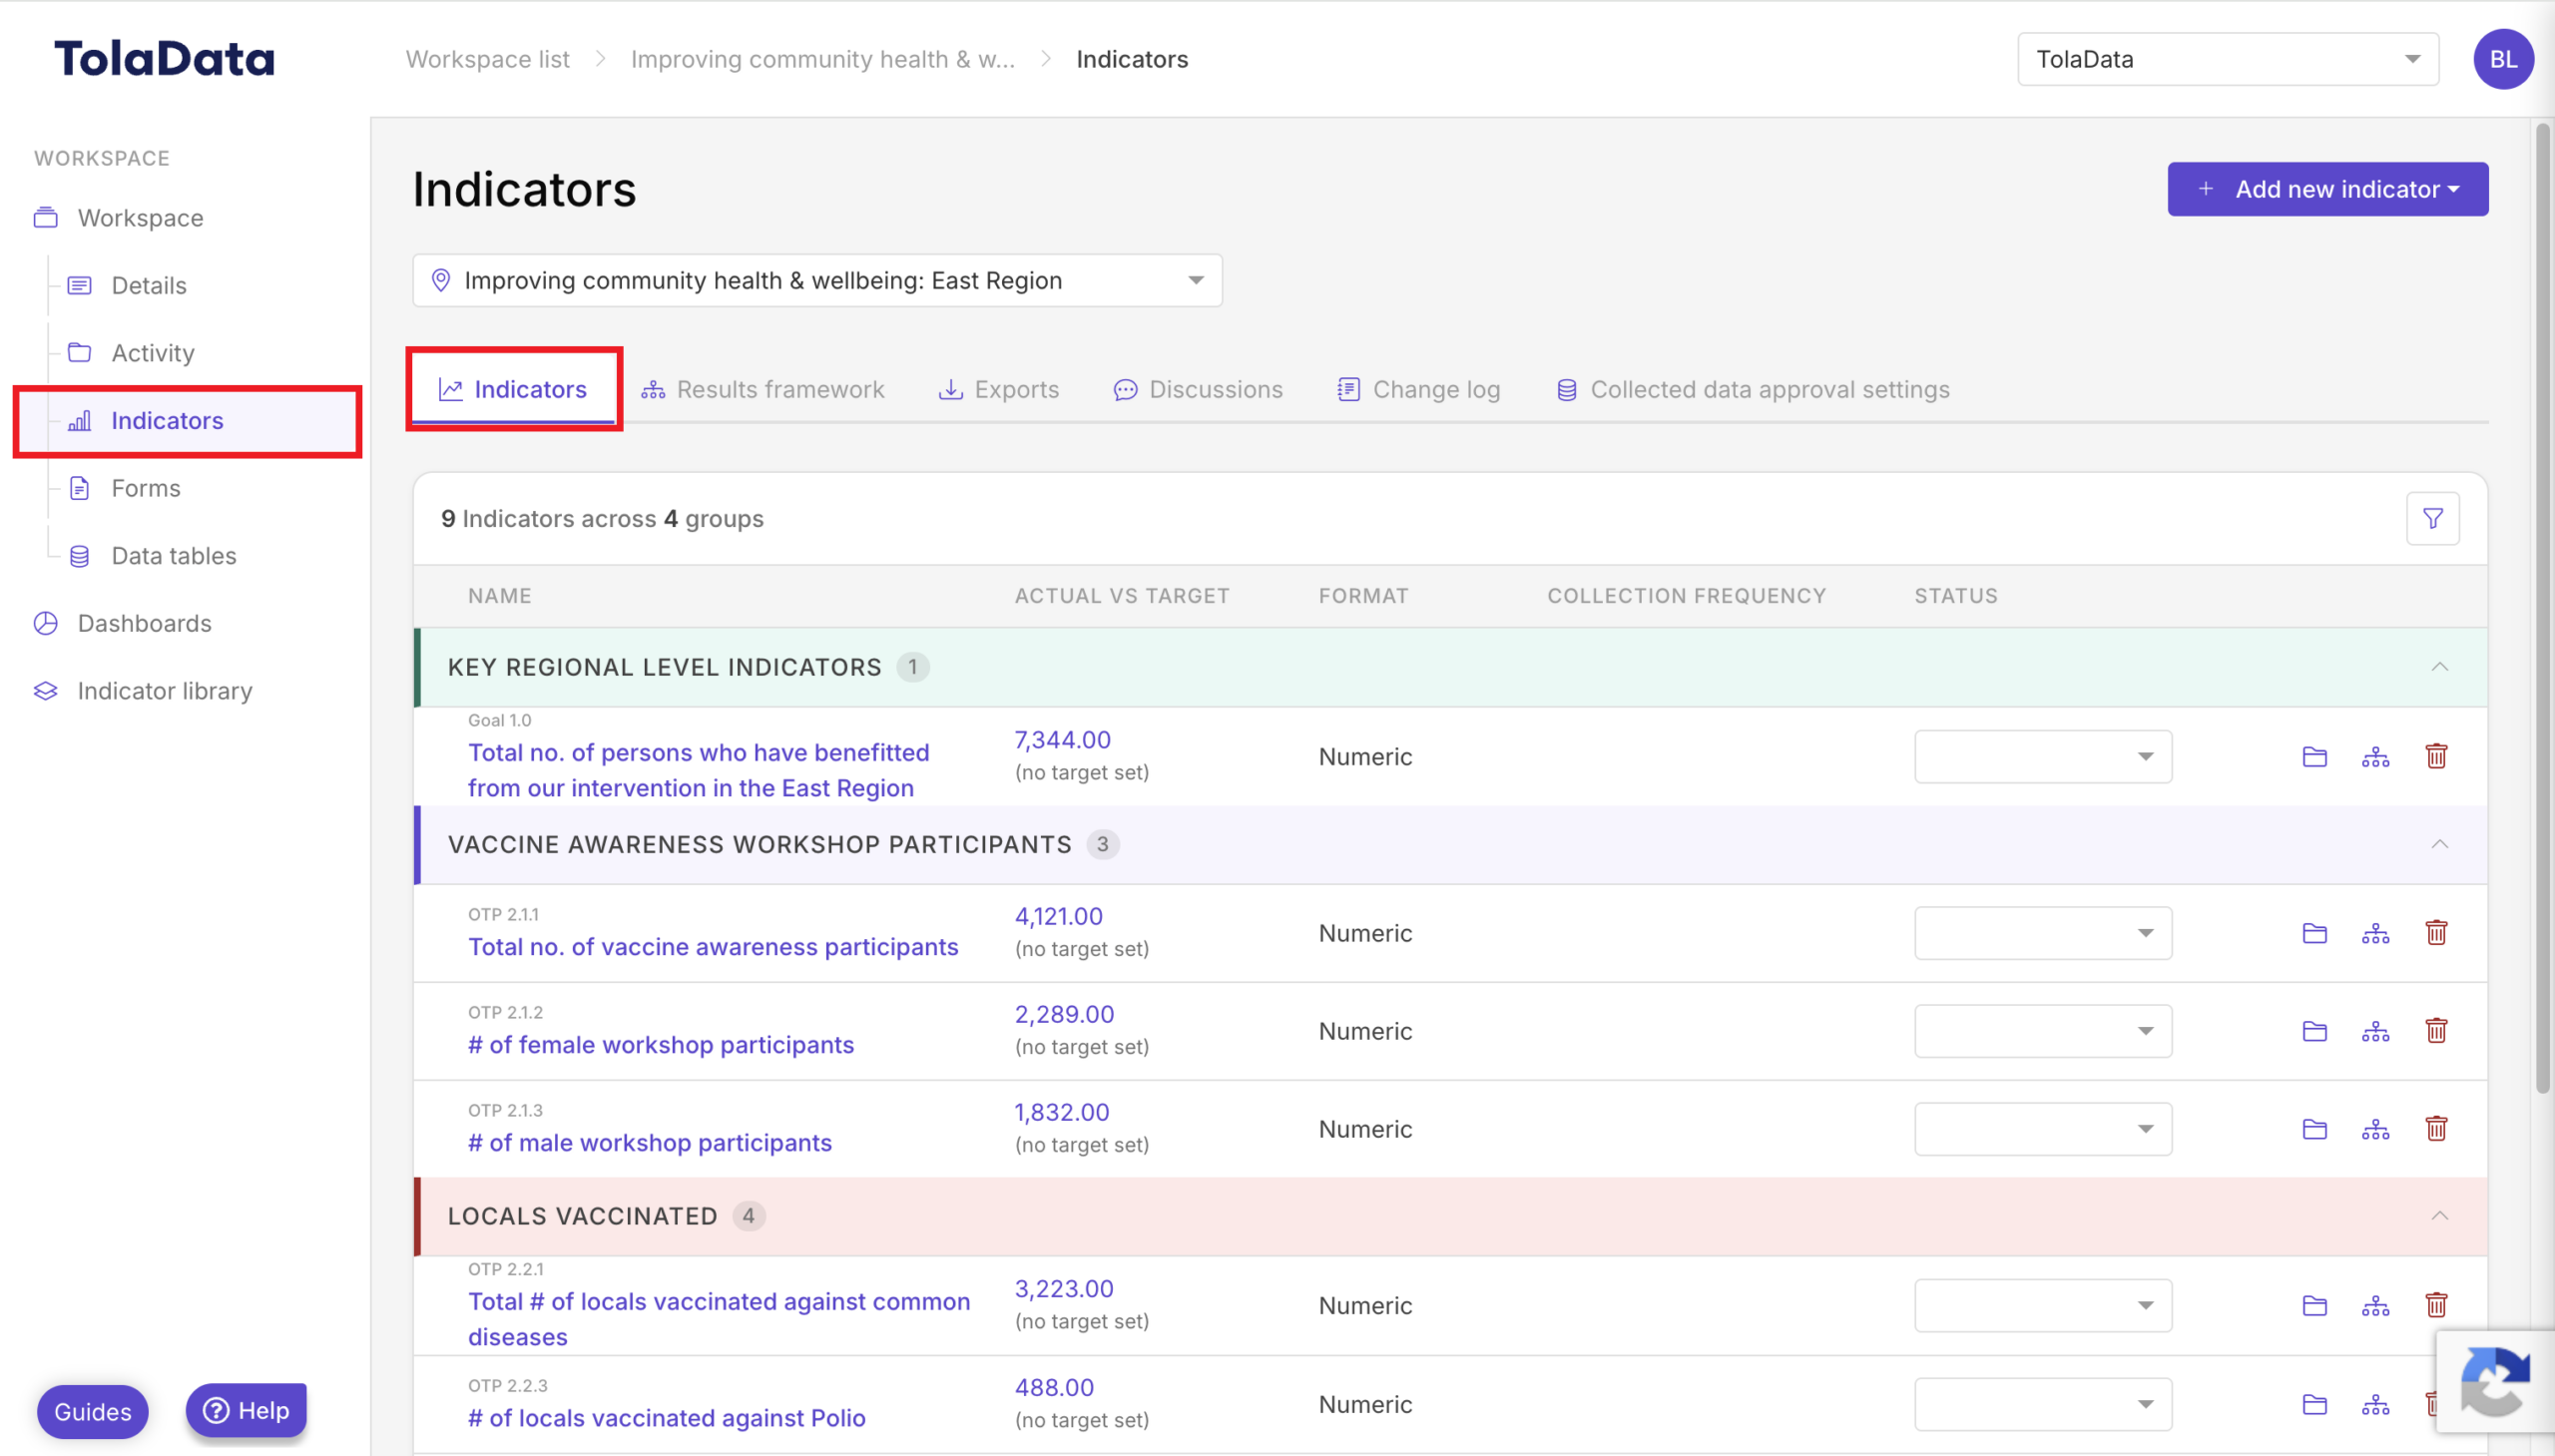
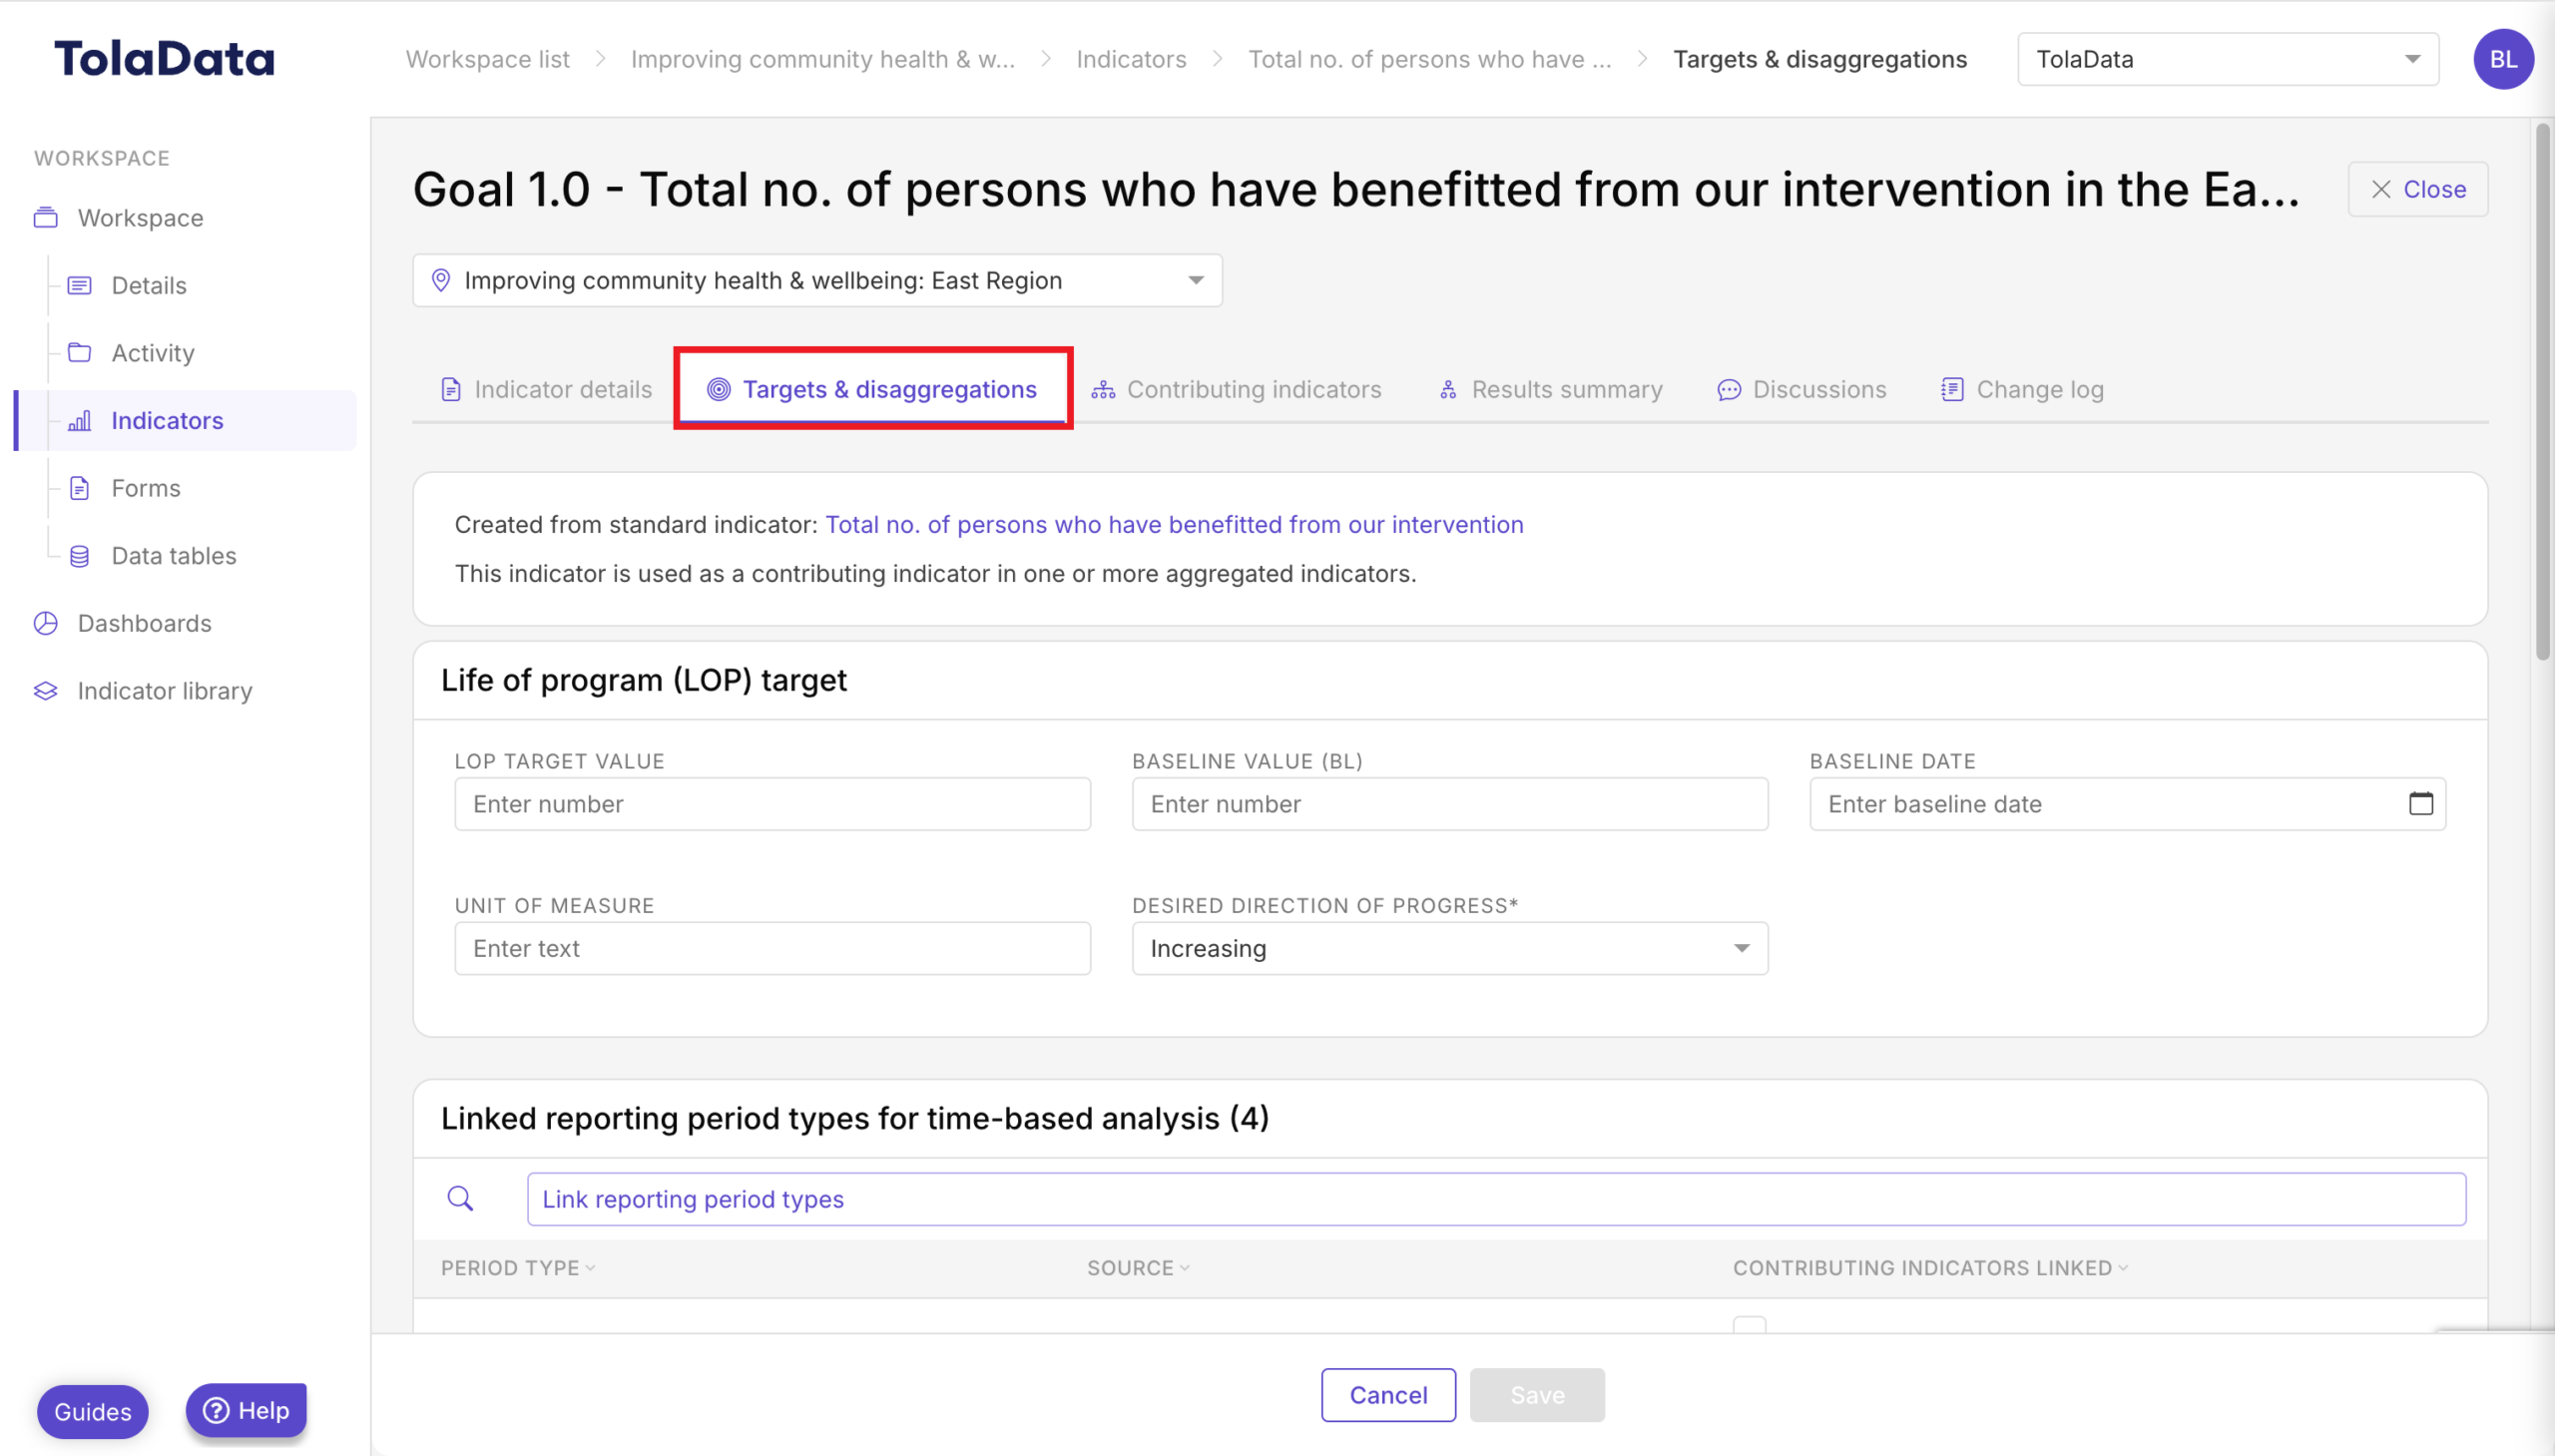
Select an indicator by clicking its name. Once opened, navigate to the ‘Targets & disaggregations’ tab.
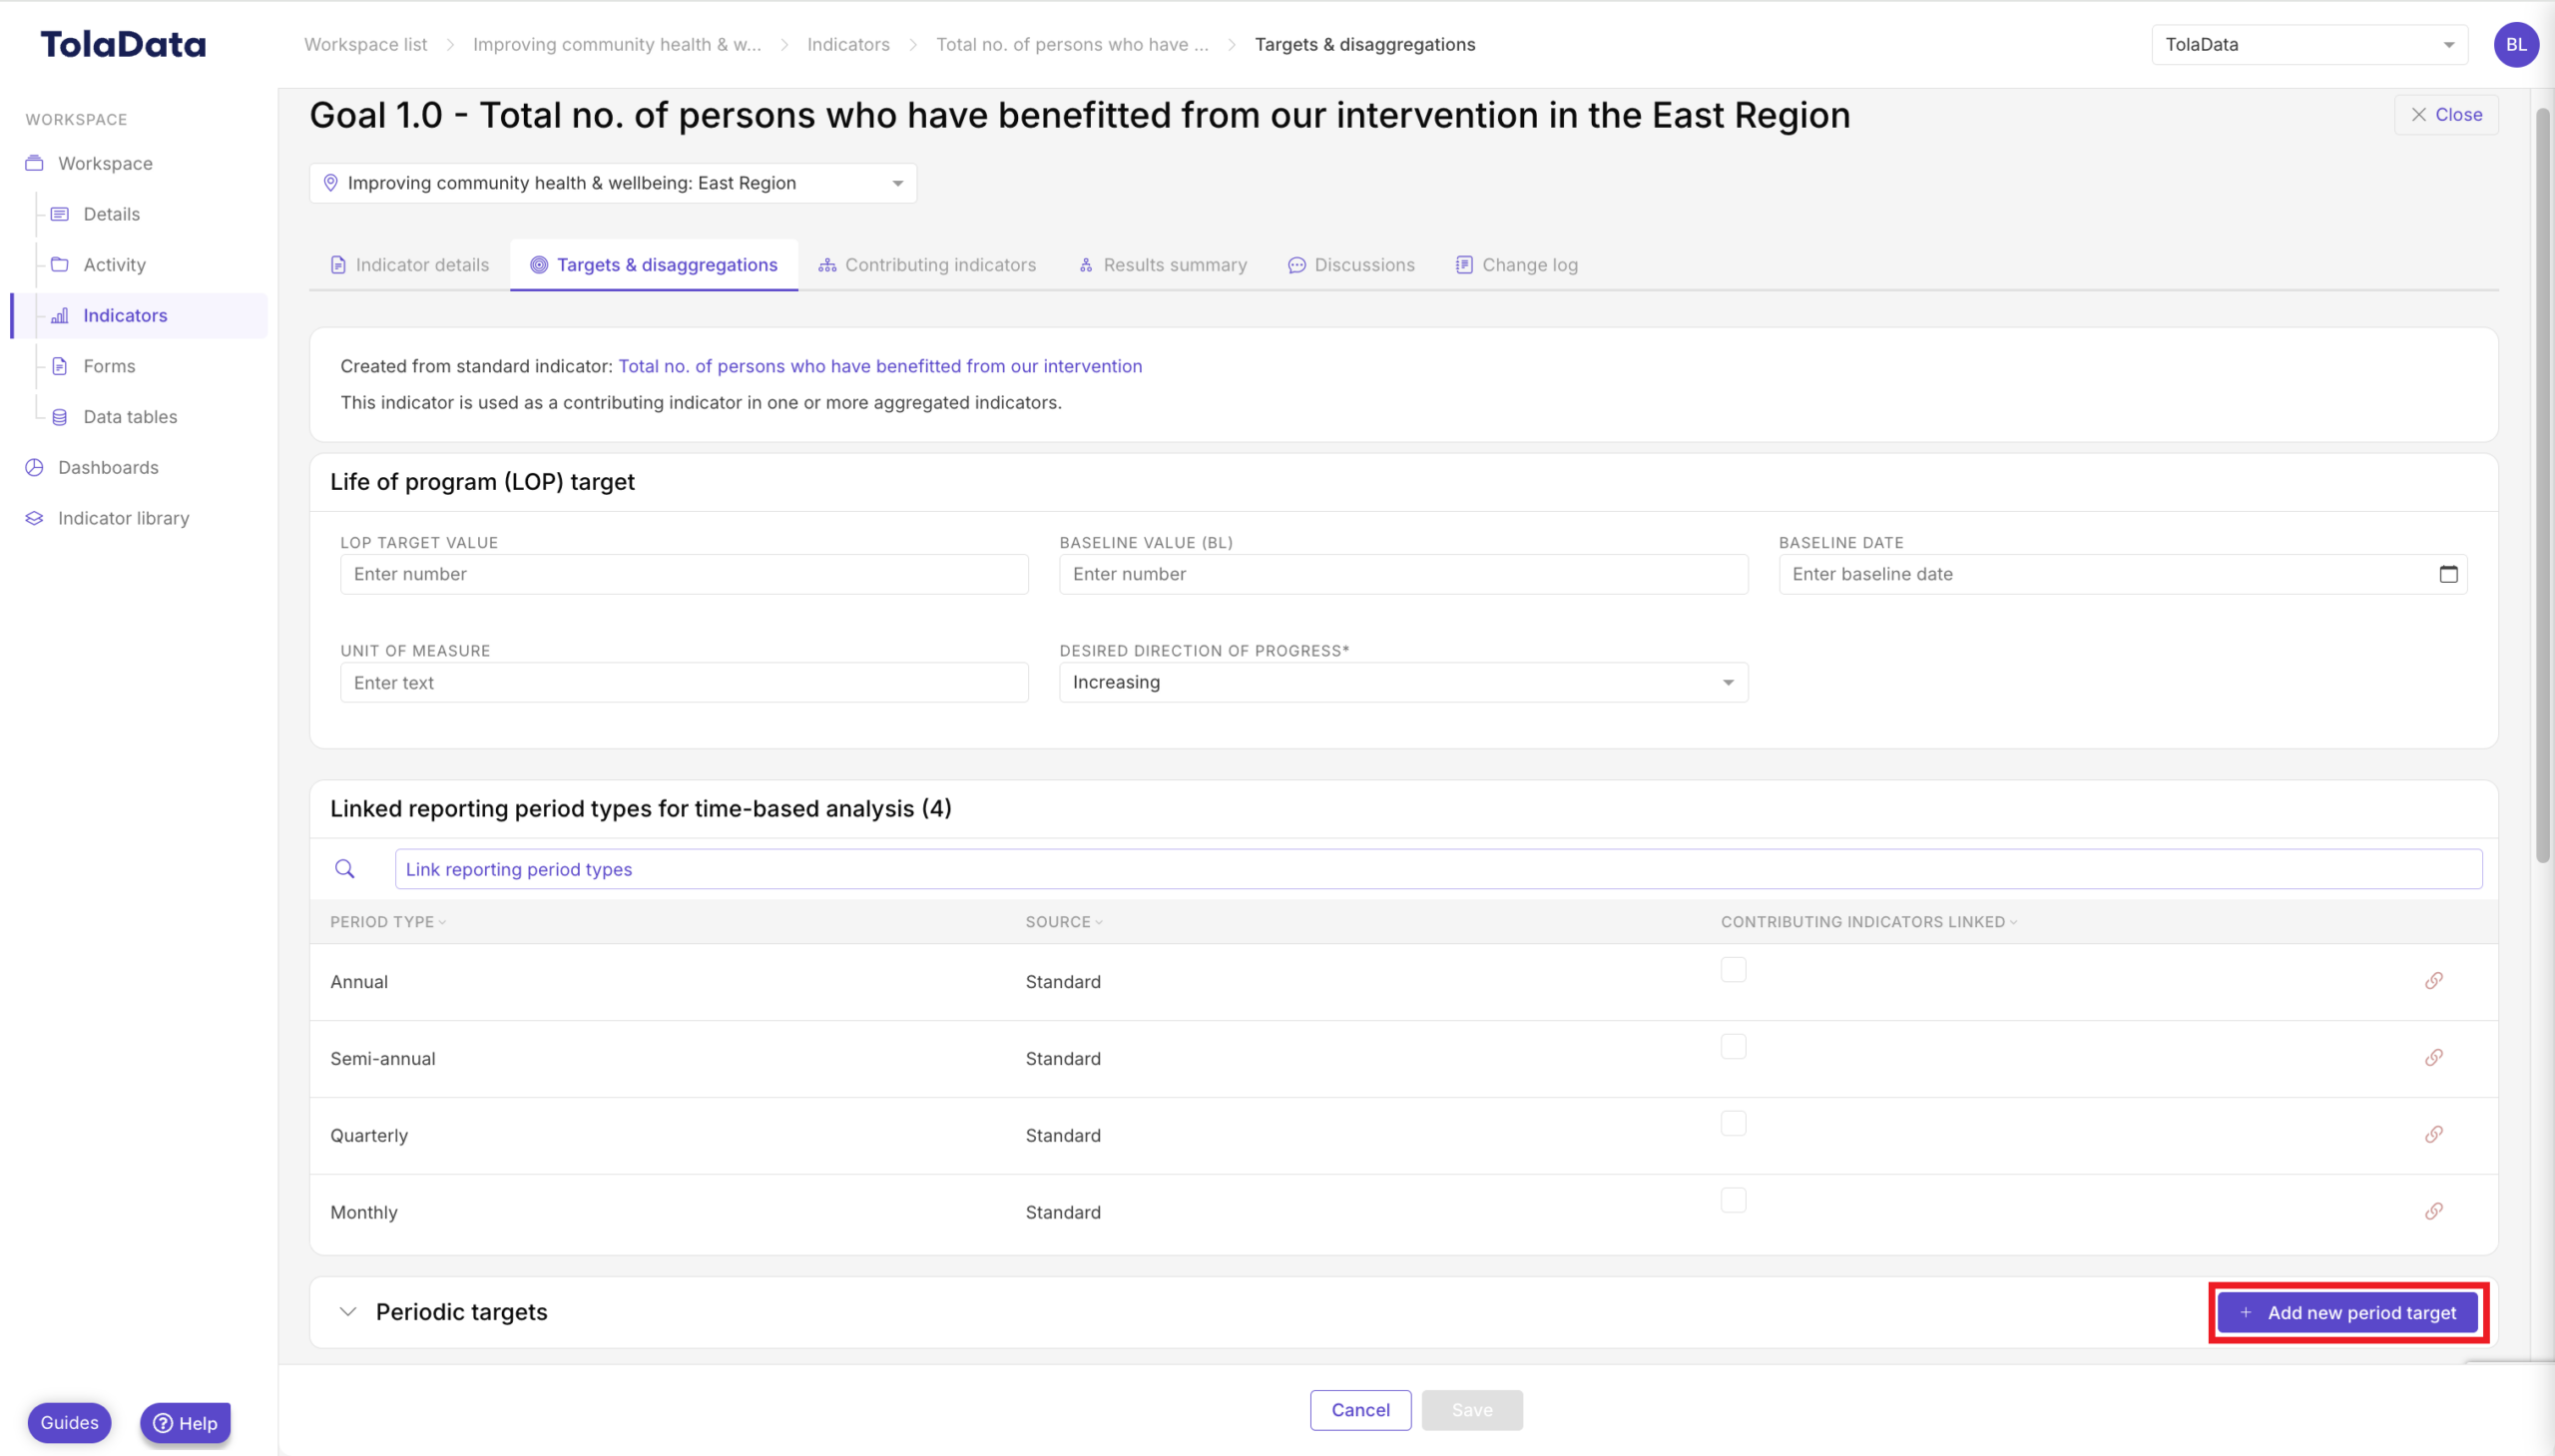
To link your new reporting period, select the ‘Add new period target’ button.
Once open, specify if your new reporting period is a custom period or standard. In the ‘custom reporting period set’ select the name of your reporting period from the dropdown. You can then add the reporting period with a corresponding defined target value.
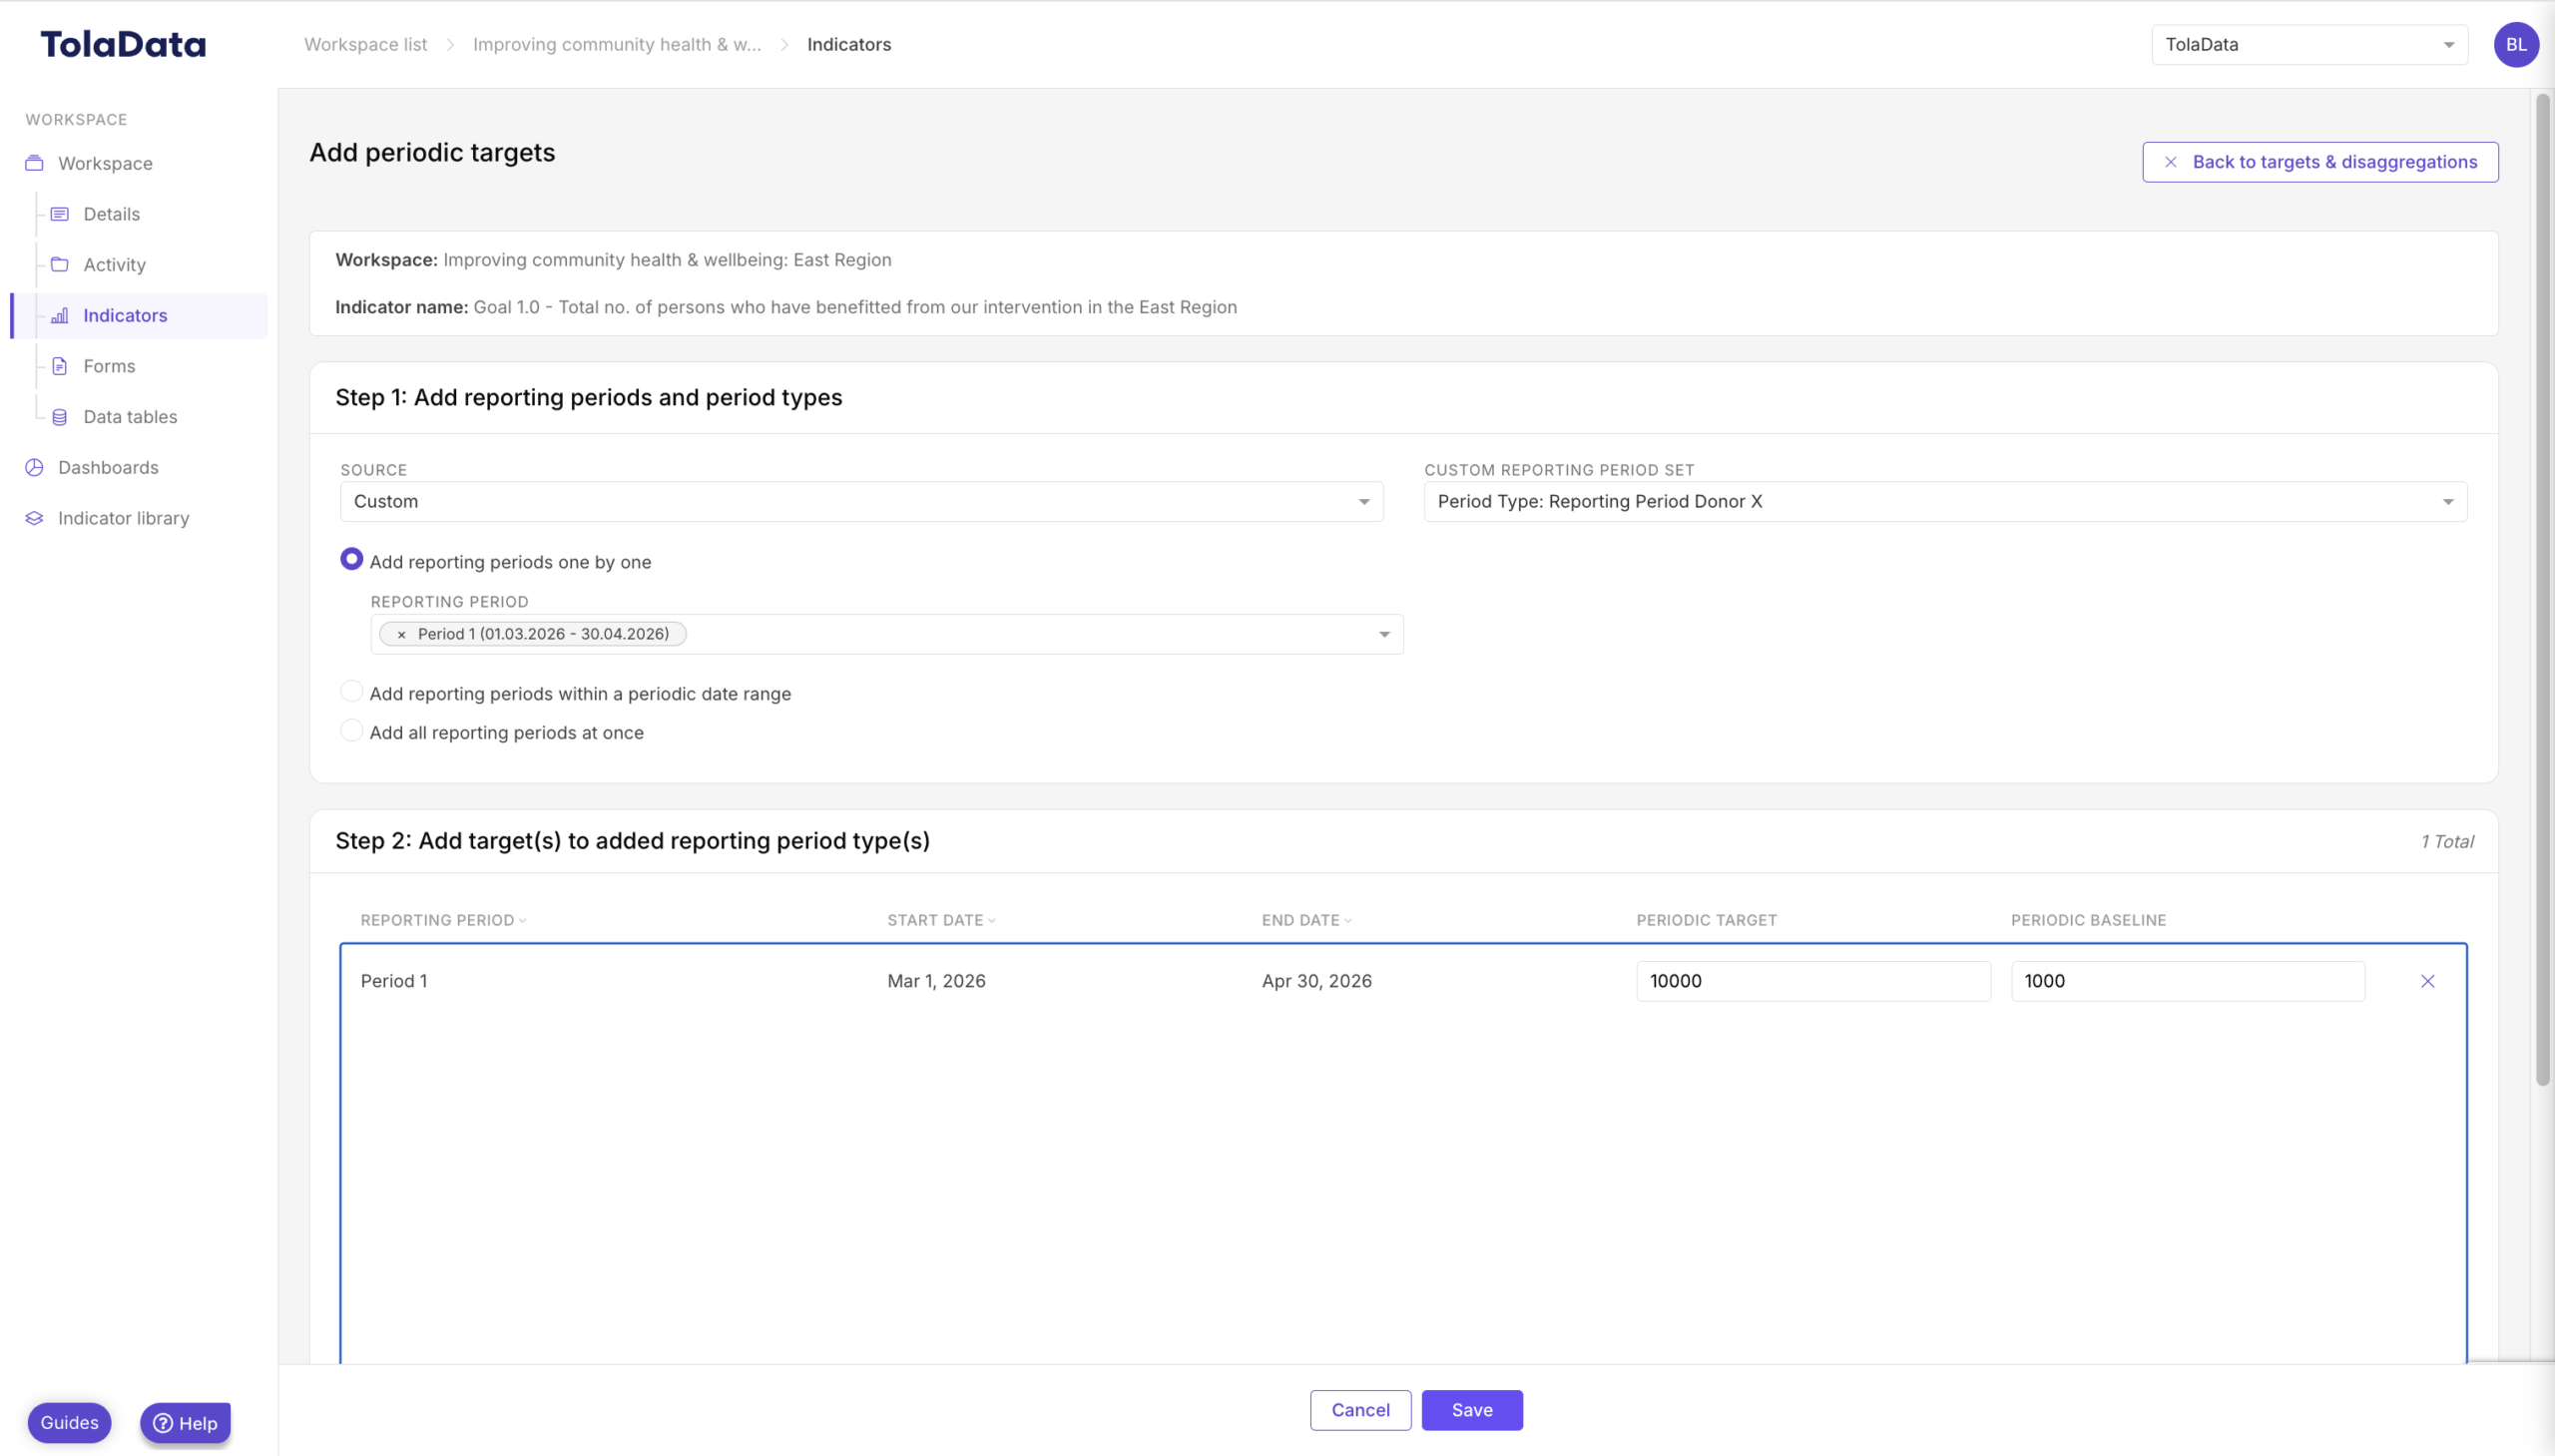
After selecting save, the new reporting period will appear.
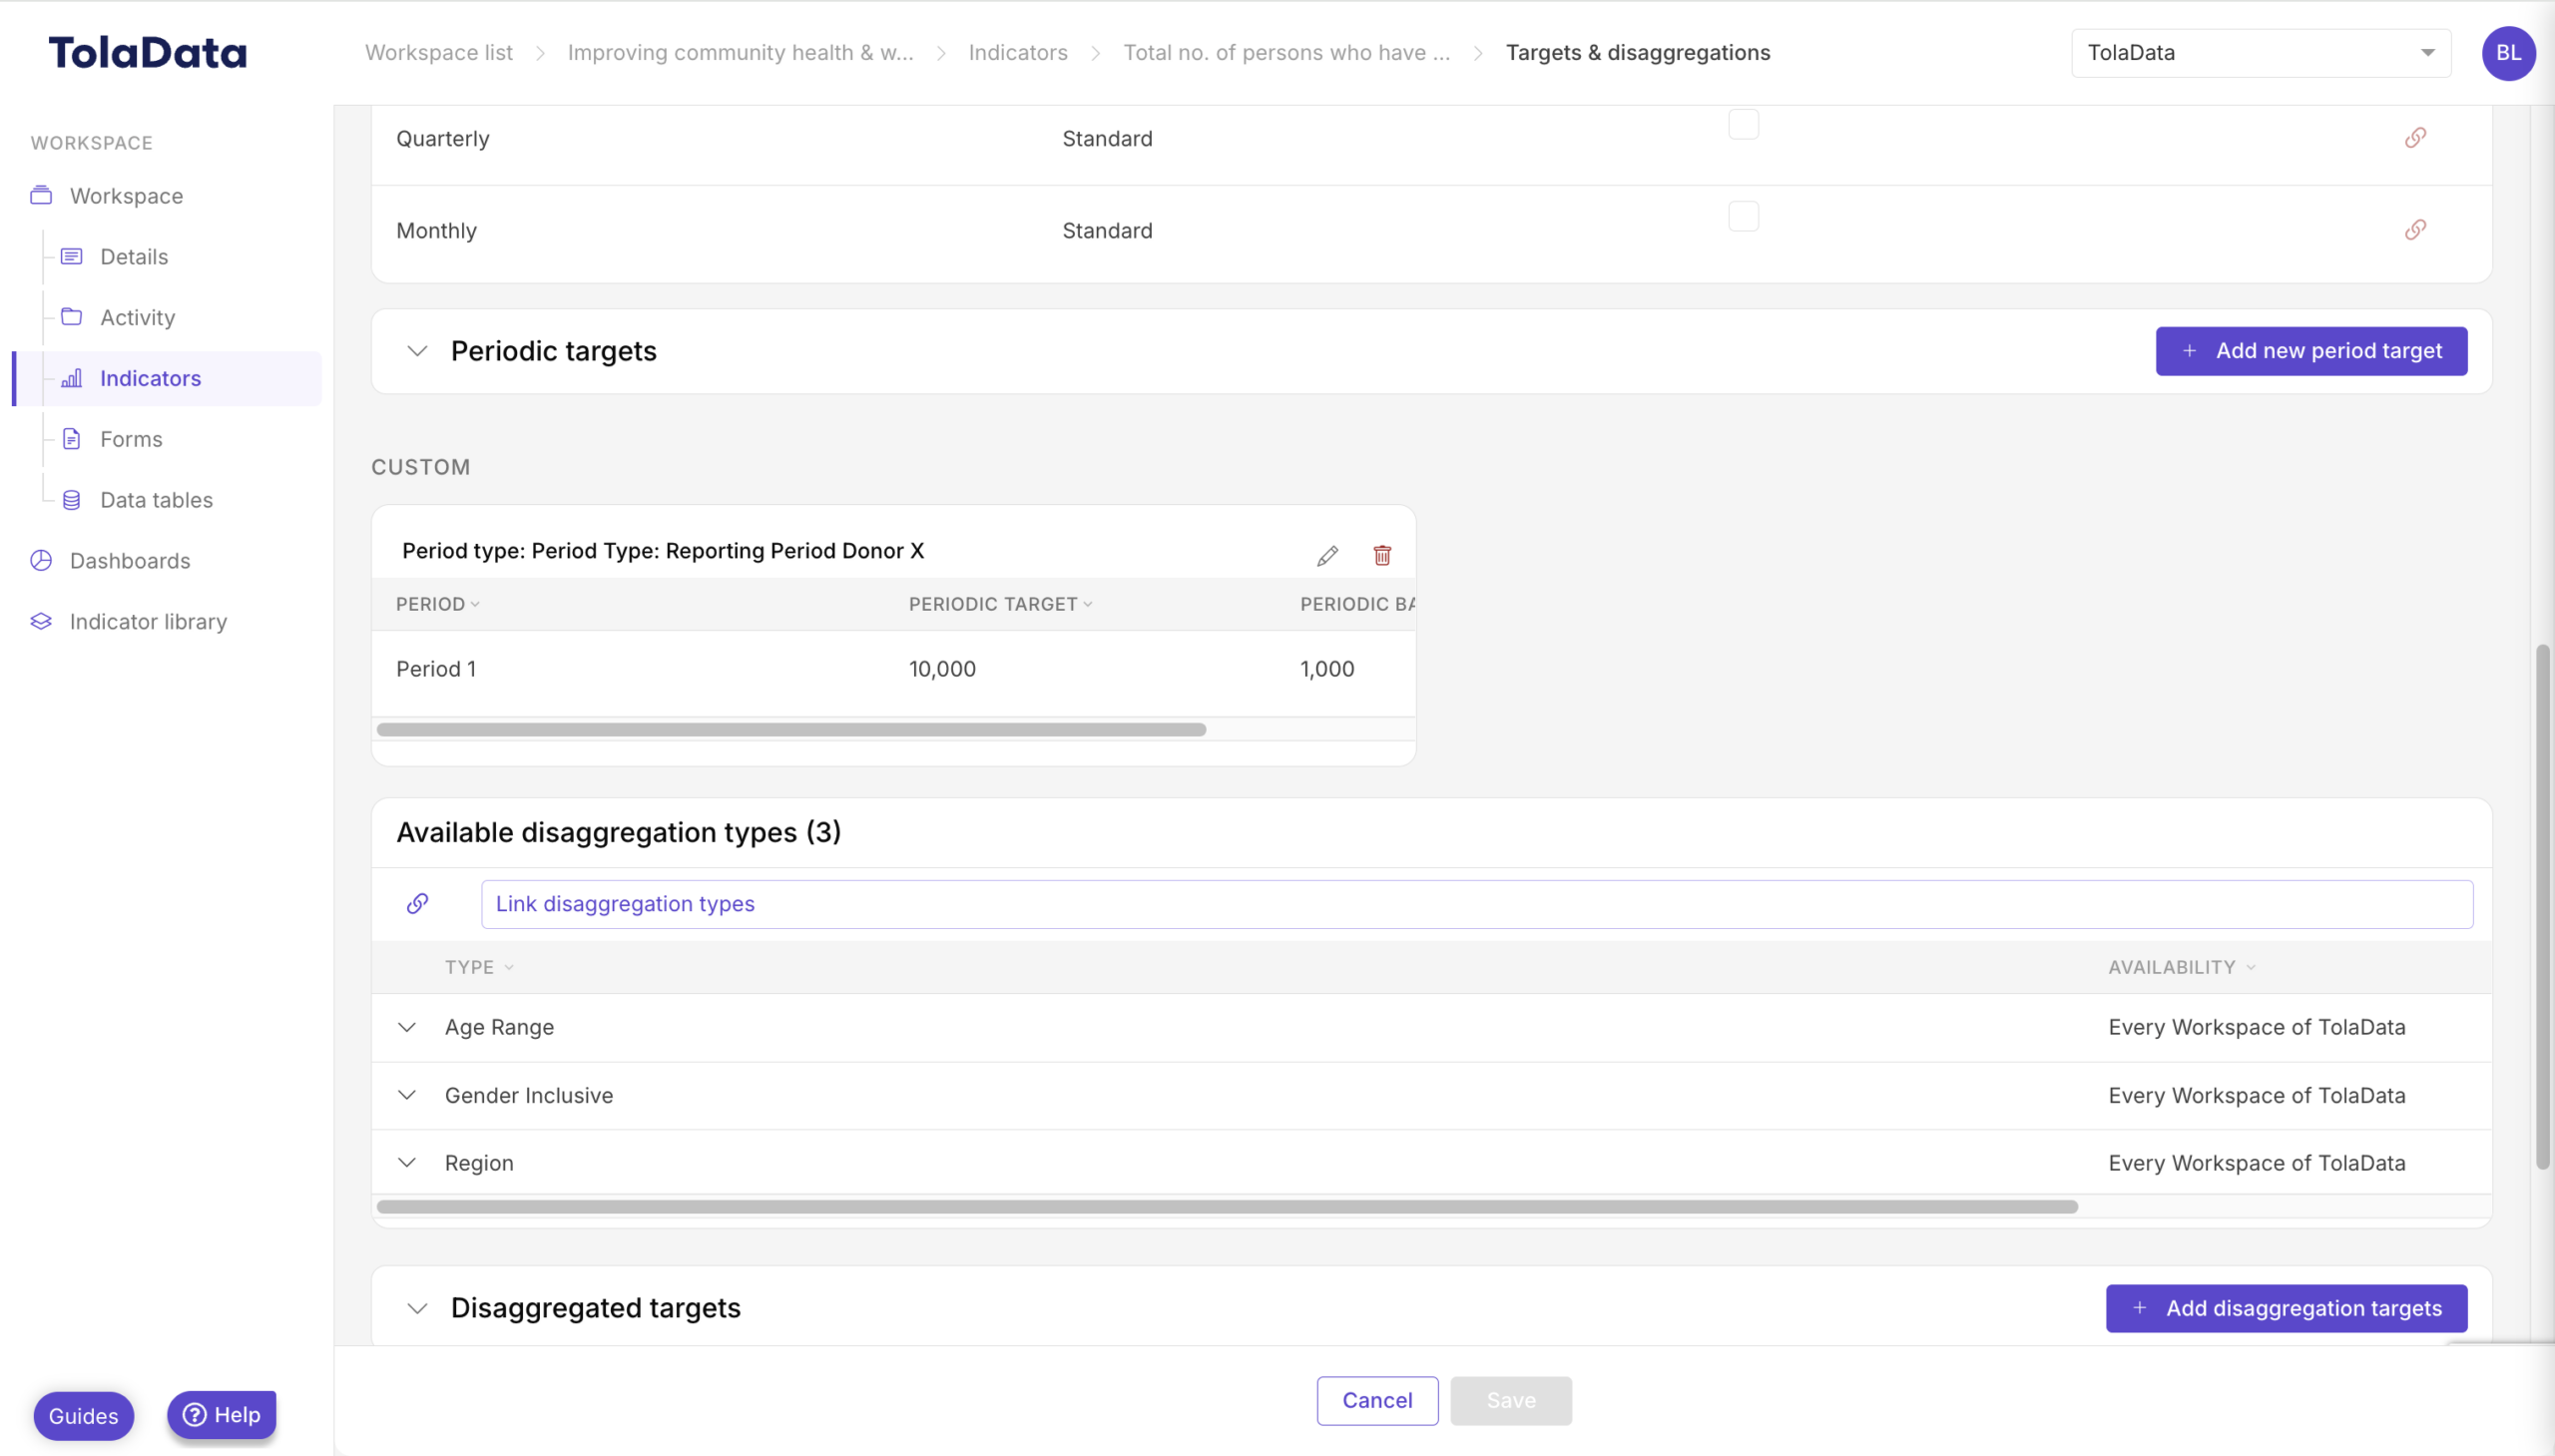
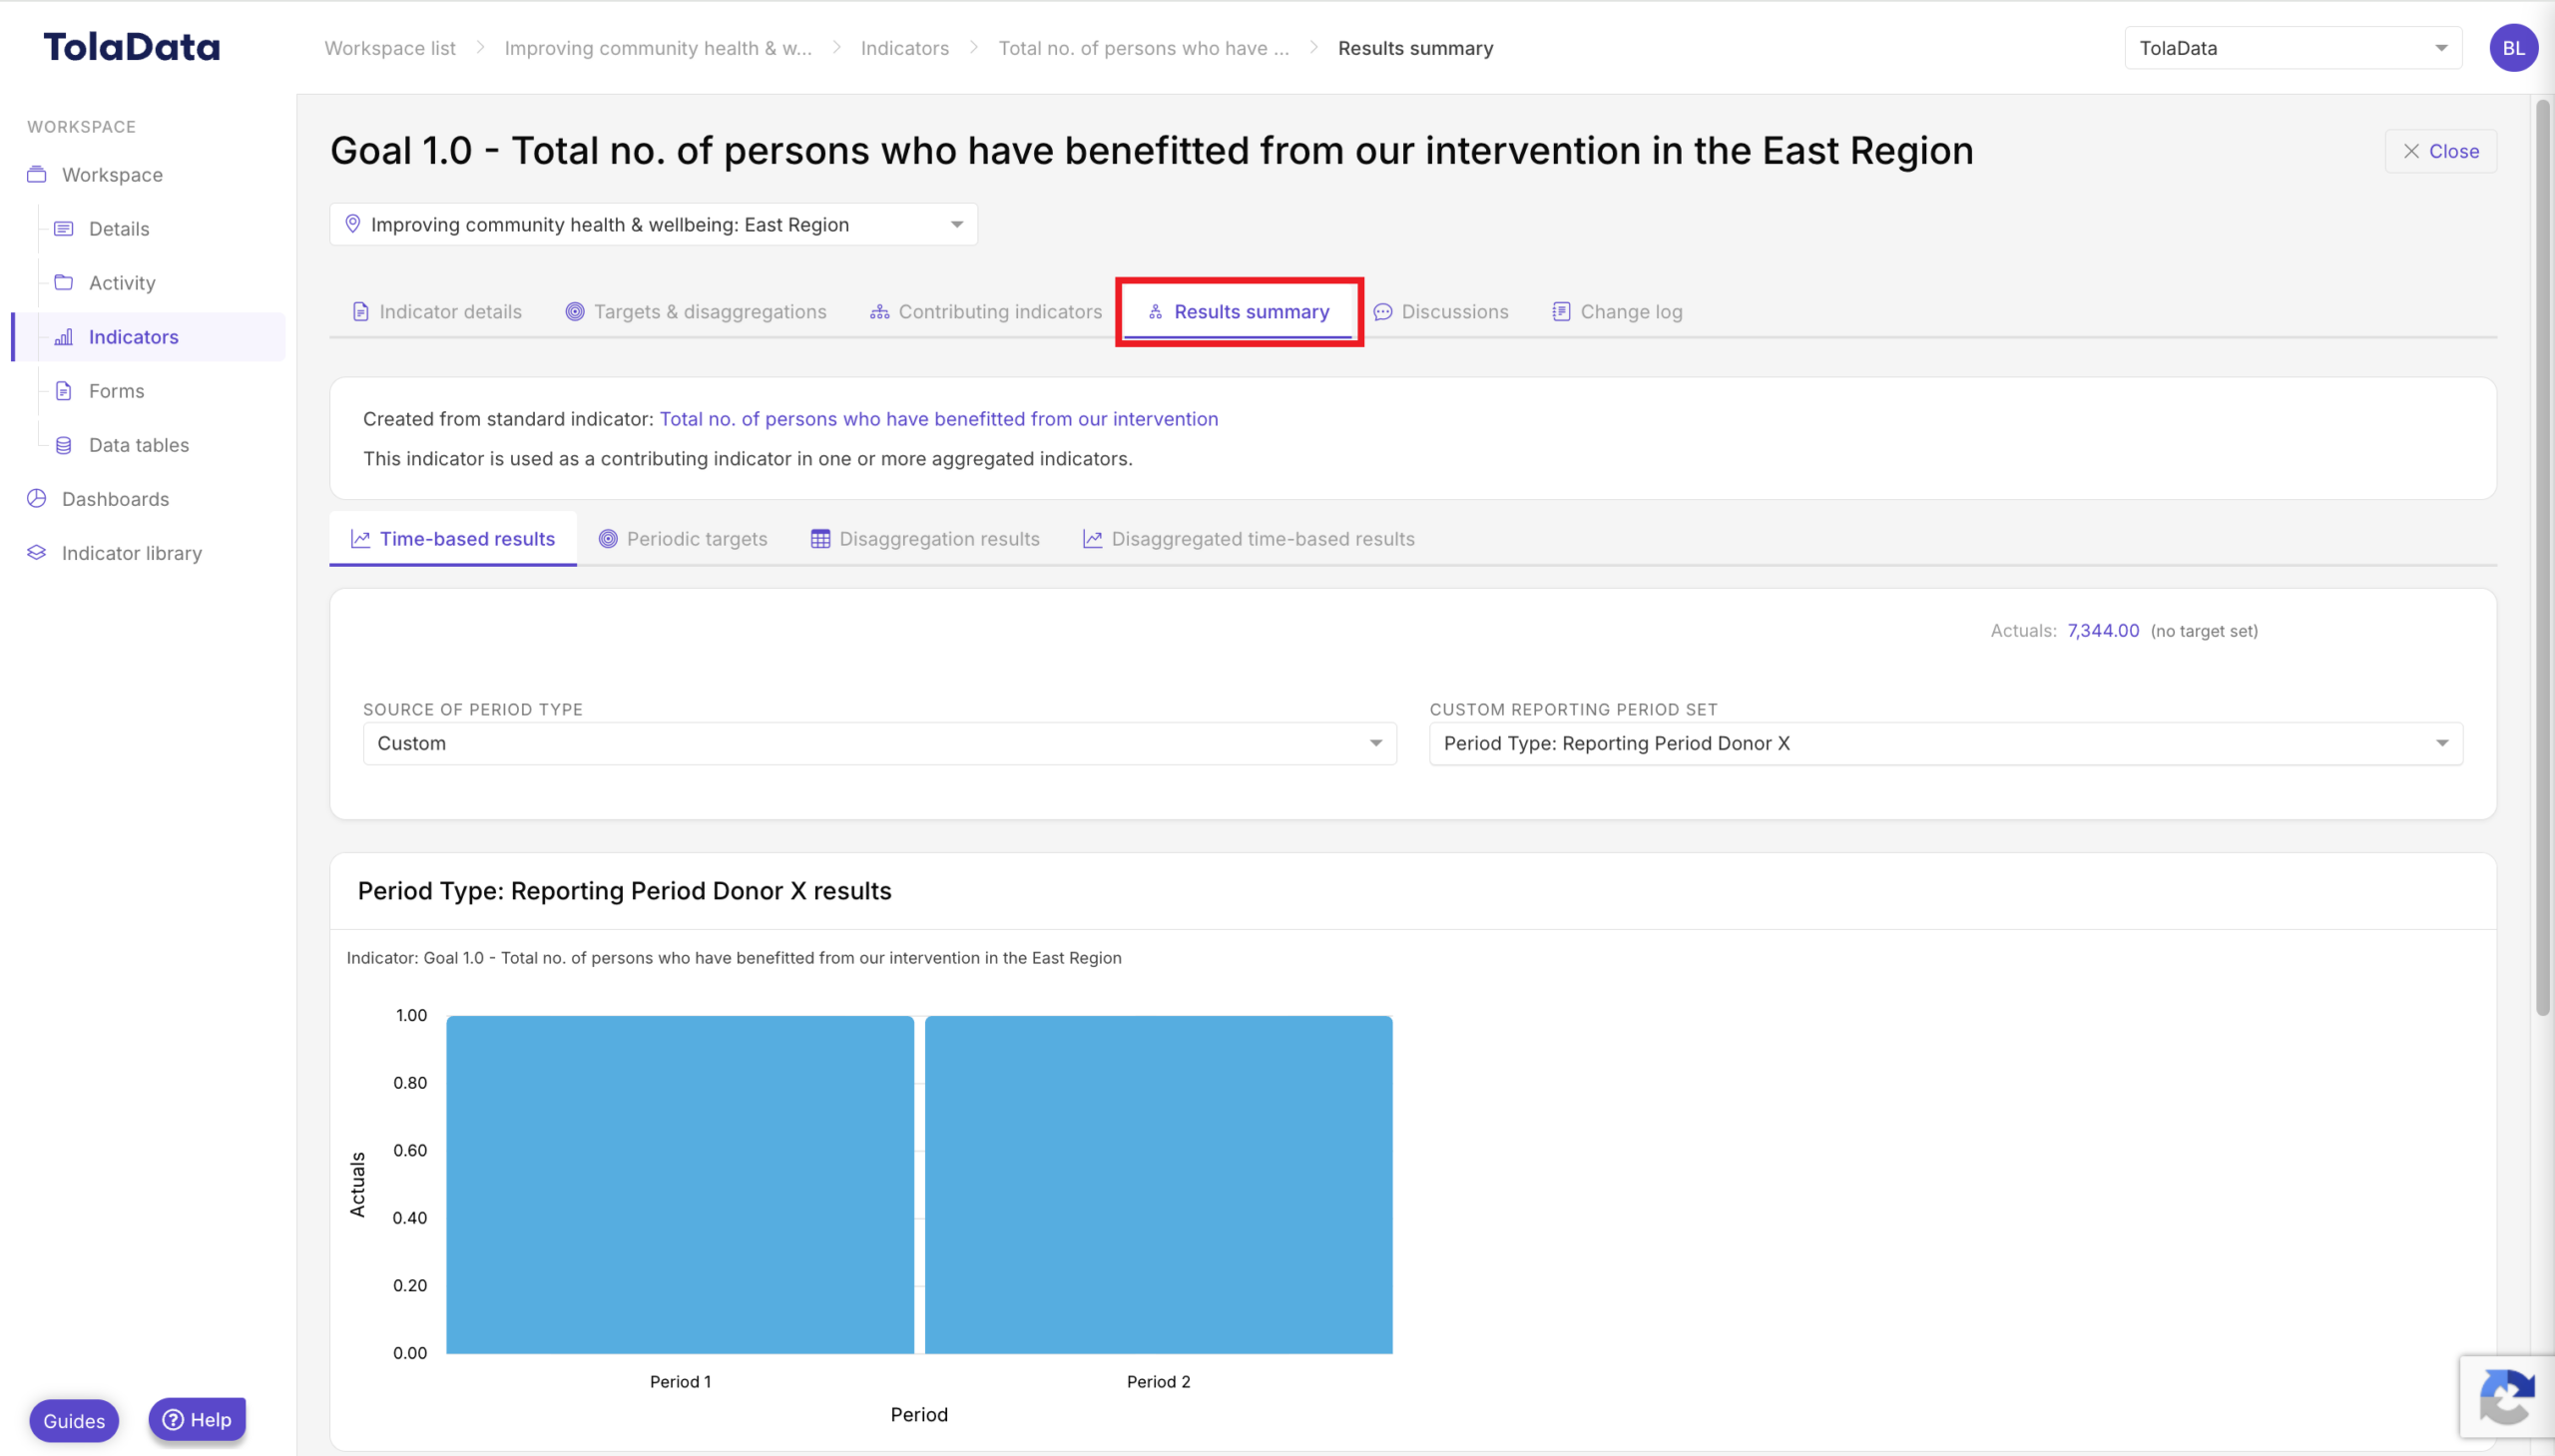
Once linked to the indicator, all previously collected data will automatically fall into the specified period. To get an overview of the data against the reporting period target, navigate to the results summary tab.
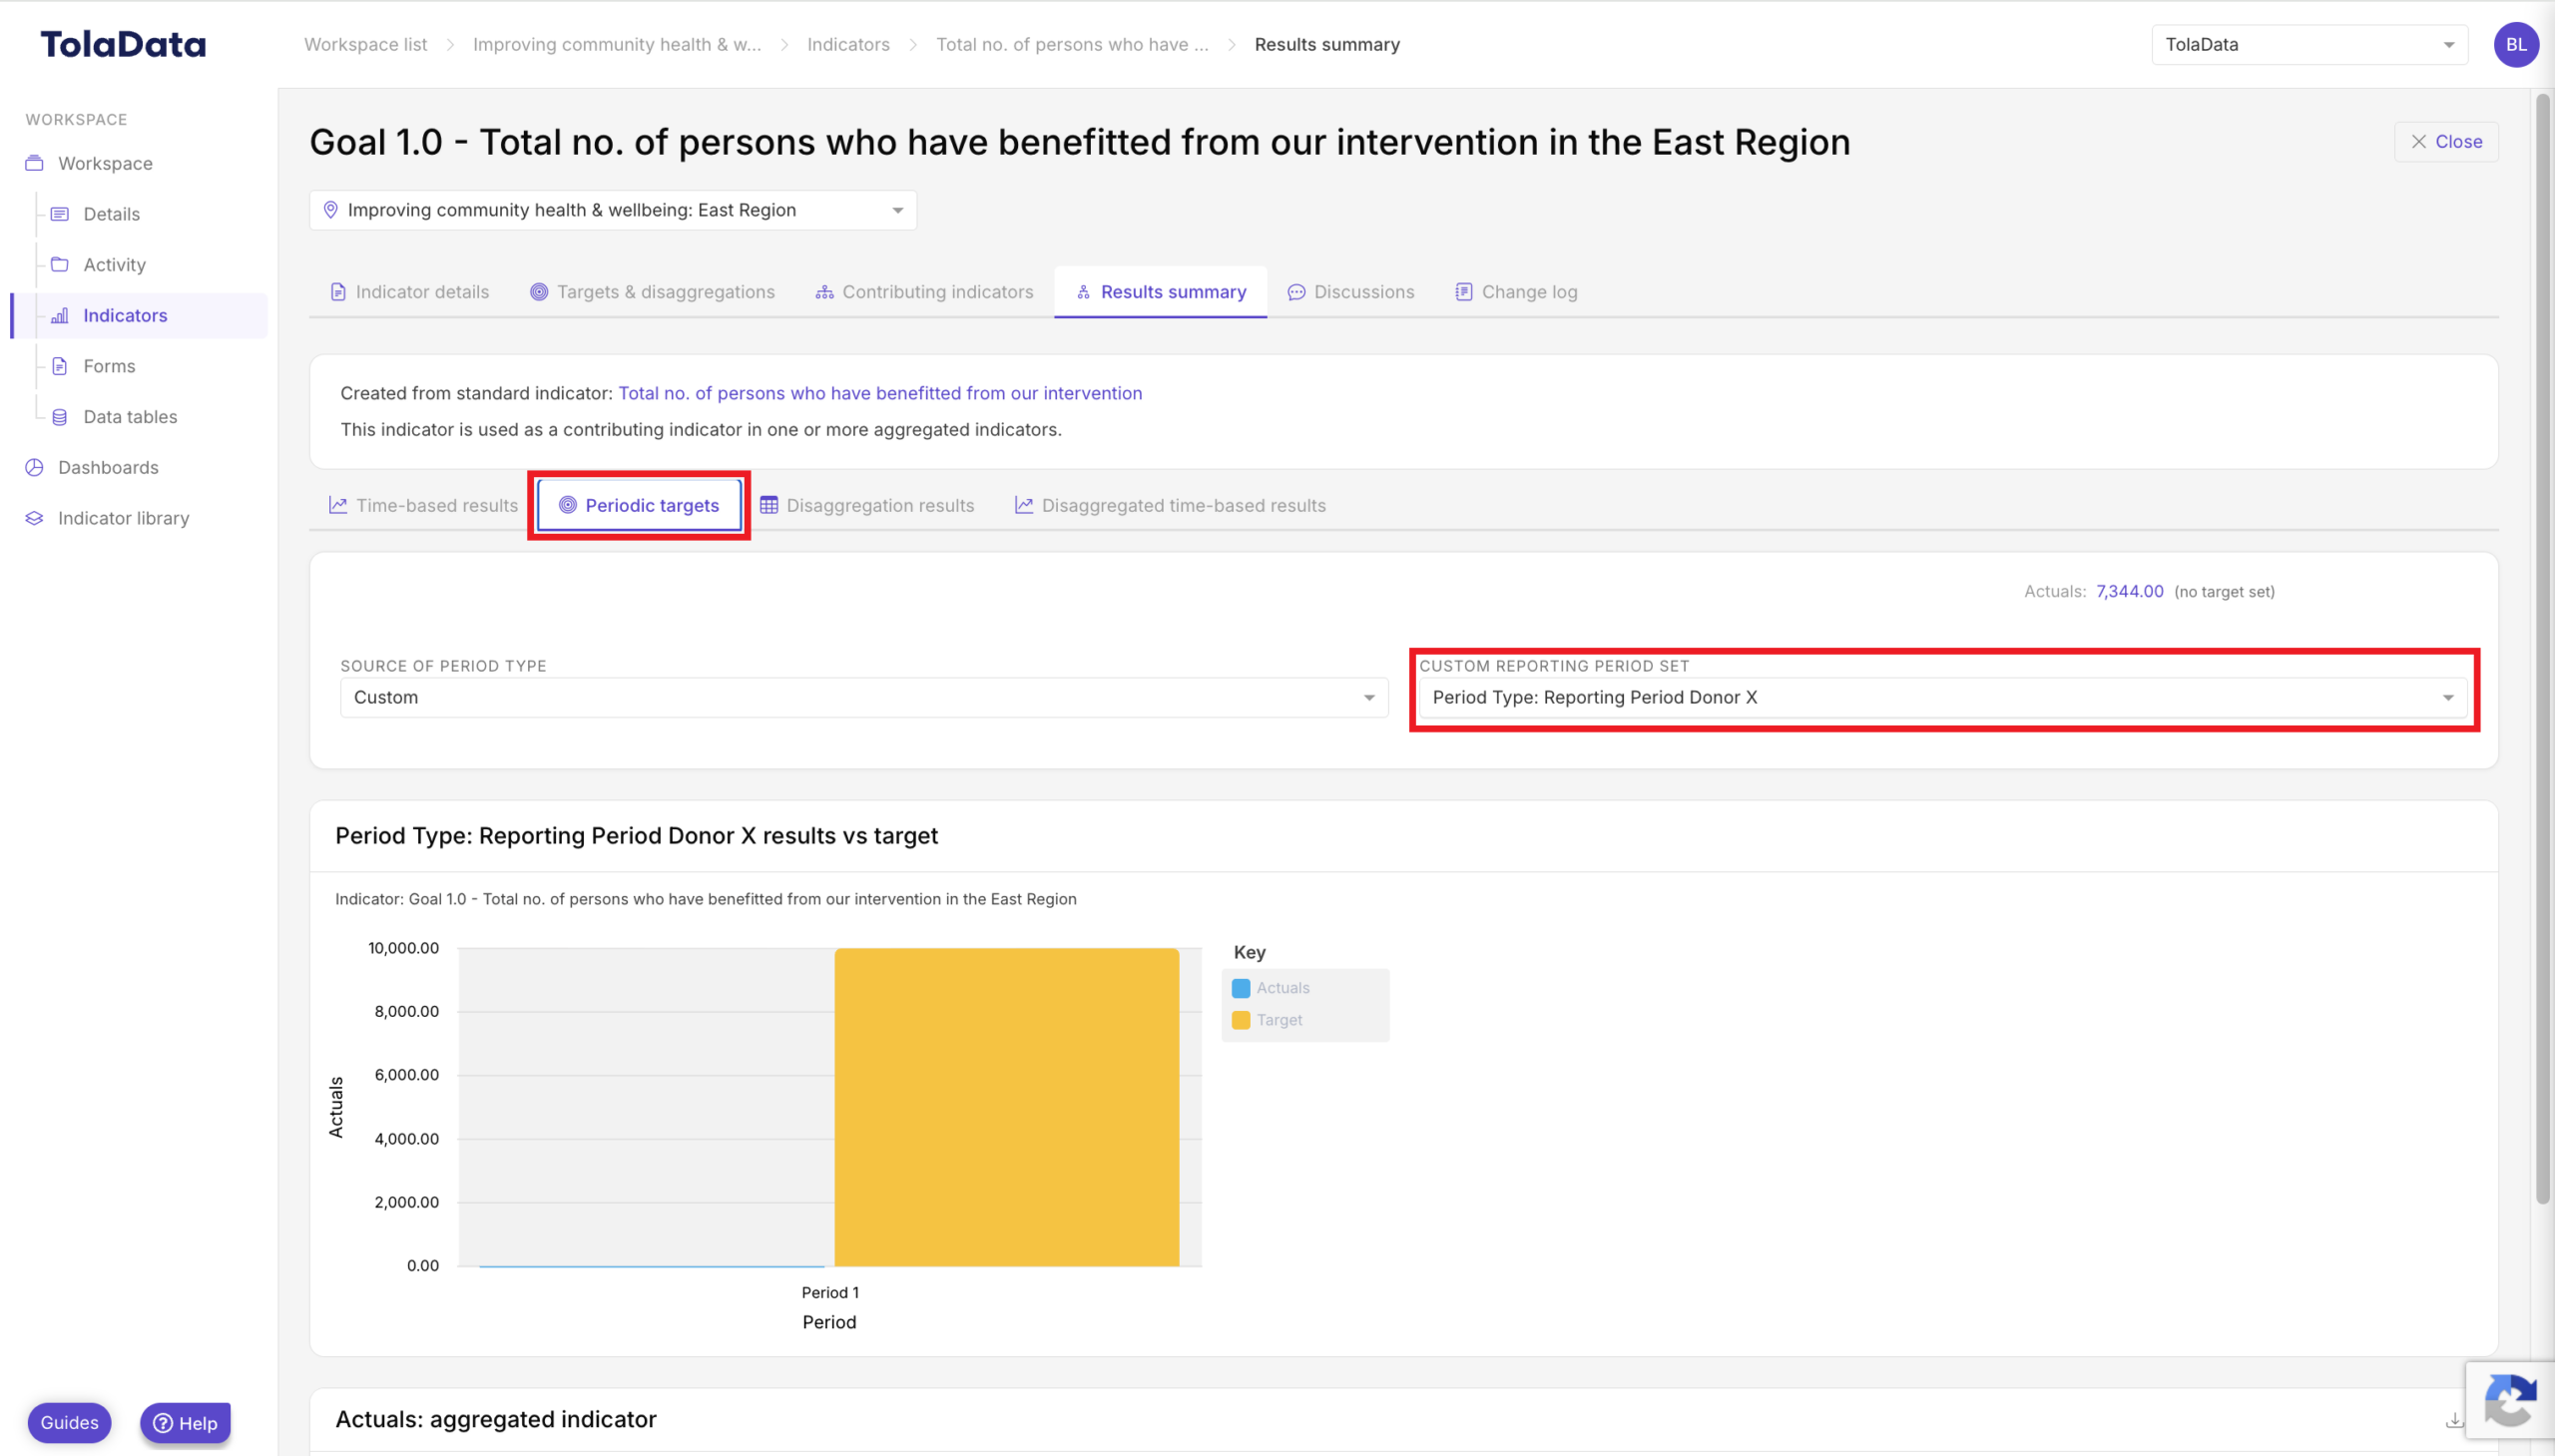
Select the ‘Periodic targets’ tab to see your actual values from the reporting period defined against the target value from the period. All future collected data will automatically be displayed against the periodic target.
See also: Reporting Periods and Periodic Targets (Indicator Section), which covers periodic targets on indicators.